How to use Start menu folders in the Creators Update

 Image: Ian Paul/IDG
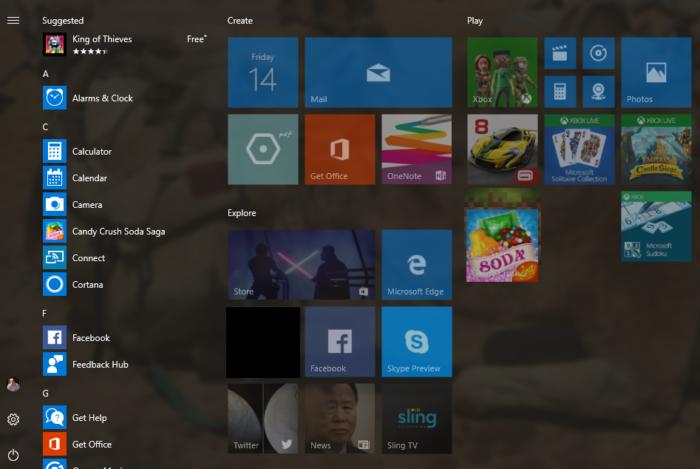
Windows 10 on PCs has always been influenced by mobile, and the newly released Creators Update is no different. This time around the latest update adds a particularly helpful feature from mobile: app folders.
Since there’s no home screen for PCs—unless you’re a masochist—app folders appear in the tiles section of the Start screen. The idea behind folders is to stuff more app tiles into a smaller space.
Adding app folders is not that different from what you’d do on a phone. You grab a tile, put it on top of another tile, and the PC creates the folder automatically.

It sounds simple enough, but in practice the process is a little finicky. To get started, choose two apps that you want to put in a folder. In this example we’re using Candy Crush Soda Saga and Minecraft to create a games folder.
Start by clicking and holding one of the tiles until the others look a little transparent. Now it’s time to drag the tile (in this case Soda Saga) onto the other one; however, if you just drag it straight across to the other tile the second tile will often jump out of the way. That’s because Windows 10’s “classic” behavior helps you rearrange app tiles into a different order.
 Ian Paul/IDG
Creating a folder in the Windows 10 Creators Update.
The best bet, then, is to drag the icon you’re holding from underneath the target icon (in this case Minecraft). Once you’ve got one icon on top of the other, you’ll see the bottom icon get slightly larger. Now just let go of the mouse button, and the folder will be automatically created.
Folders currently can’t be named, but you can resize the folder tile by right-clicking on it.
Enjoy maximizing your Start screen space with the new app folders in the Creators update.


