5 vital Android settings that save your apps, data, battery and more

 Image: Ben Patterson / IDG
No matter what you do in Android, there are five settings that everyone should know.. These vital features range from one that limits your cellular data use to a cloud backup setting that preserves your data in case bad things happen to your handset.
Note: I tested these tips on a Nexus 5X running Android version 7.1.2. The settings on your phone may vary depending on the make and model of your handset.
Turn on Data Saver
Unless you’ve signed up for one of those pricey unlimited data plans, you’re probably keeping an eye on your mobile data use. Unfortunately, Android apps are notorious for gobbling up more than their fair share of data, particularly when they’re sitting in the background.
 Ben Patterson / IDG
Once you’ve turned on Android’s Data Saver feature, you can pick which apps (like Gmail) that can continue to use background cellular data.
That’s why you should turn on Android’s Data Saver feature immediately. With Data Saver enabled, your Android handset will restrict the background use of cellular data, thereby saving you from any unpleasant surprises on your monthly mobile bill.
Just tap Settings > Data Usage > Data Saver, then flip on the switch.
Blocking background cellular data has its downsides. For example, Data Saver will keep the Gmail from fetching new messages, Twitter won’t notify you of mentions unless you manually reload your feed, and your favorite news app won’t refresh its articles until you open it in the foreground.
Luckily, you can pick and choose which apps can continue to use background mobile data while Data Saver is enabled. On the Data Saver settings screen, tap Unrestricted data access, then flip the switches next to the apps that you want Data Saver to skip while it’s blocking background mobile data use.
Bonus tip: You’ll need to turn Data Saver off before using your Android phone as a mobile hotspot. That in itself is not a big deal, but don’t forget to turn Data Saver back on once you turn your handset’s hotspot off. I’ve made that mistake myself, and I’ve got the data overage charges to prove it.
Turn off Data Roaming
Even if you’ve got the cash for an unlimited data plan, you could still end up with unexpected data charges if you’ve got this particular setting enabled.
 Ben Patterson / IDG
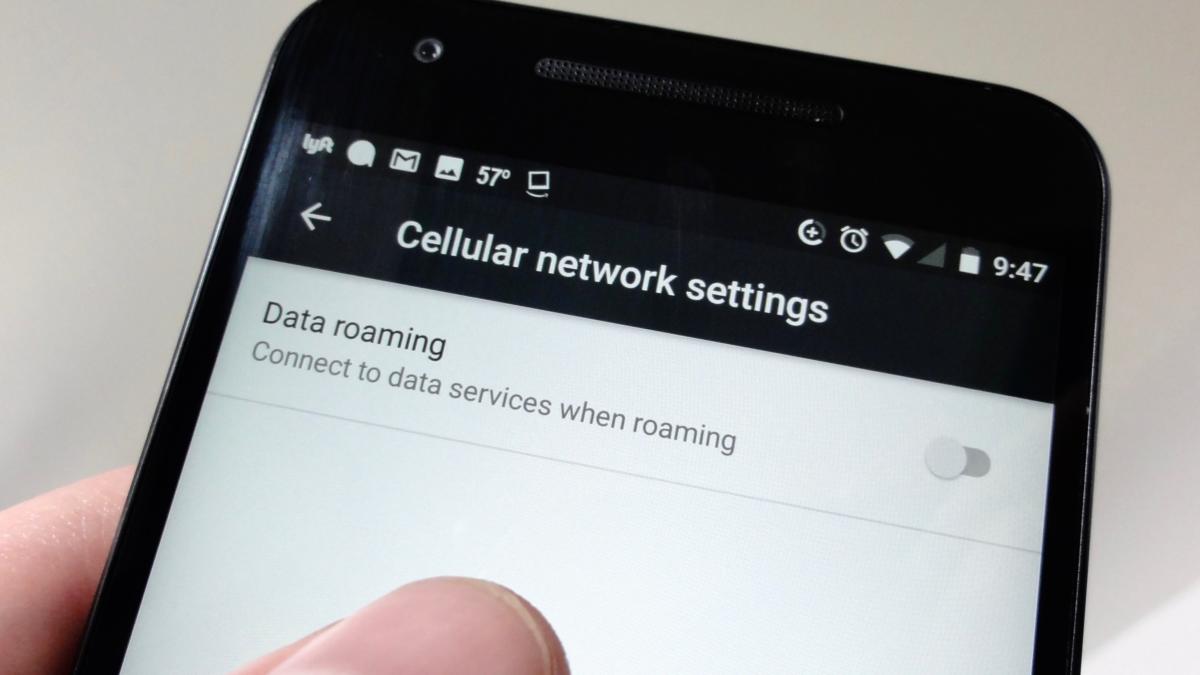
If you don’t like unpleasant surprises on your monthly wireless bill, make sure to turn off Android data roaming setting.
Android’s Data Roaming feature lets your phone use cellular data when you’re “roaming” on another network (usually because you’ve wandered out of your carrier’s coverage area). That’s handy if constant cellular data access is your top priority, but it could also lead to hefty data charges if you’re not careful.
To ensure that Data Roaming is switched off, tap Settings > Data usage, tap the three-dot button in the top-right corner of the screen, tap Cellular Network, then turn off the Data Roaming setting.
Turn off the Unknown Sources setting
One of the beauties of Android is that you’re not restricted to the Google Play store when it comes to apps. Indeed, you can download and install apps from any third-party app store or website—from the Amazon app store and DownloadAtoZ to Mobango and SlideMe—without having to root your device.
 Ben Patterson / IDG
With the Unknown Sources setting turned off, you’ll block any non-Google Play apps that try to install themselves on your Android phone.
The problem with third-party app stores, however, is that they don’t necessarily go to the lengths that Google does to ensure their apps are malware-free. Even worse, you could wind up on a iffy website that tries to install a nasty piece of malware on your phone without asking first.
That’s why you want to make sure Android’s Unknown Sources setting is turned off—or at least, almost always off.
When enabled, the Unknown Sources setting opens the door to any and all third-party apps that want to install themselves—invited or not—onto your handset. Turn Unknown Sources off, and your Android phone will block the installation of any app that isn’t from the Google Play store.
I recommend keeping Unknown Sources off pretty much all the time, unless you happen to be downloading apps from a third-party source that you trust. Once you’re done installing, make sure to switch off Unknown Sources again.
To toggle the Unknown Sources setting on or off, tap Settings > Security. You’ll find the Unknown Sources setting about halfway down the list of security settings.
Set Battery Saver to turn itself on automatically
Even as Android phones get more and more powerful, battery life seems to keep shrinking. Indeed, my Nexus 5X can’t make it through the day without an afternoon charge, and that’s with only a moderate amount of use.
 Ben Patterson / IDG
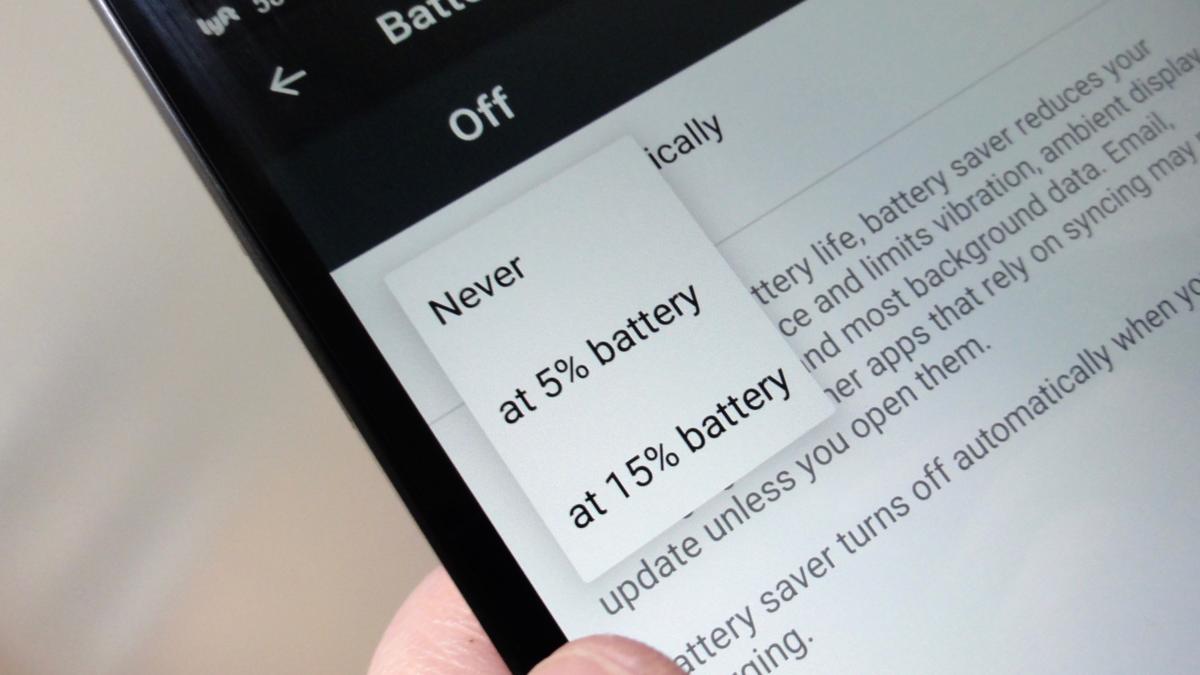
You can set Android’s Battery Saver feature to turn itself on when your phone’s battery life starts to dwindle.
That’s why Battery Saver is such a must-use Android feature. Once activated, Battery Save will switch your device into a low-power mode by (among other things) dimming the screen, shutting down most background app activity and location services, and turning off other bells and whistles, all in an effort to squeeze every last drop of juice out of your phone’s fading battery.
The beauty of Battery Saver mode is that you don’t need to turn it on manually. Instead, you can set your handset to enable Battery Saver once your phone’s battery level falls below a certain level. Once your device is charged up again, Battery Saver will turn itself off until it’s needed again.
Tap Settings > Battery > Battery Saver > Turn on automatically, then pick a battery level at which the function will trigger: either 5 percent or 15 percent.
Keep your Android data backed up
Last but not least, you want to make sure all the app data and settings on your Android device are backed up to the cloud. Just flip a switch, and Android will periodically upload snapshots of your handset’s current state to Google Drive. If you ever need to wipe or even replace your phone, you’ll be able to restore most of your data and settings right where you left off.
 Ben Patterson / IDG
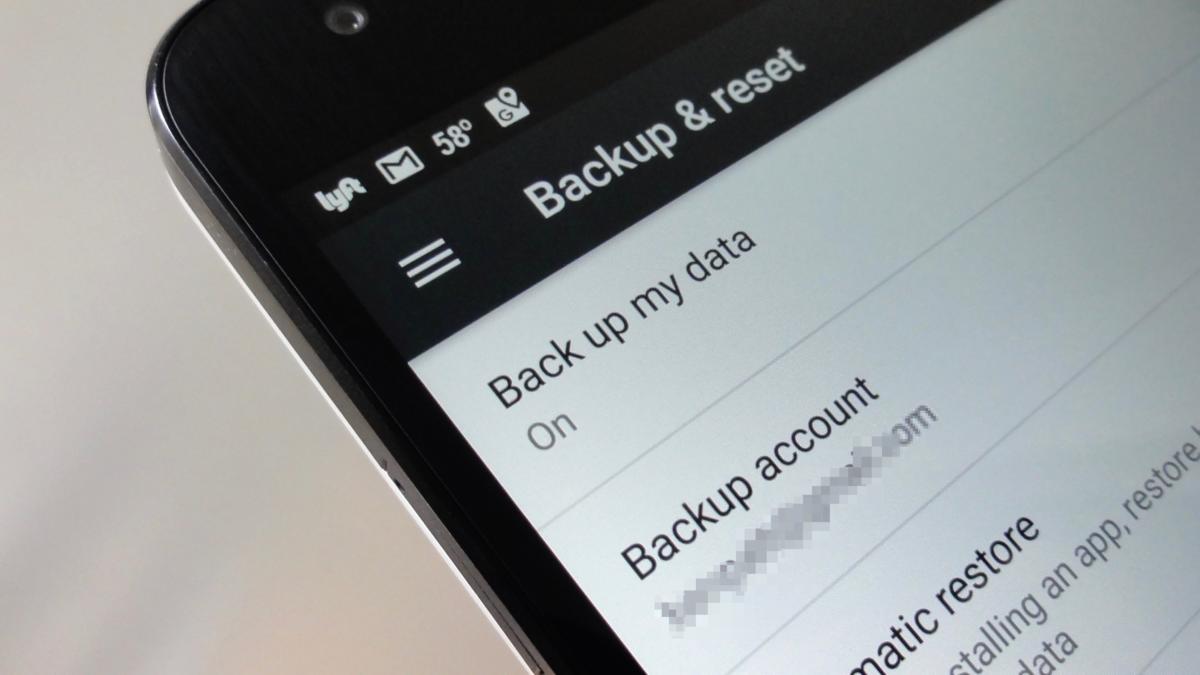
Turn on the “Back up my data” setting to keep your phone settings and app data preserved in Google Drive.
Tap Settings > Backup & Reset > Back up my data, then flip on the switch. On the main Backup & Reset screen, you can designate which of your Google accounts (assuming you have more than one) you’d like to use as your backup account, while the Automatic Restore setting will (as you might guess) automatically restore any backed-up settings or data for an app you’ve decided to reinstall.


