How to build a mini-ITX Ryzen gaming PC

 Image: Brad Chacos/IDG
Computers don’t have to be big to be powerful. While opting for a small form-factor PC once required sacrificing system speed, recent technological advances have shrunk even potent PC hardware into pint-sized packages. Case in point: The 6-core, 12-thread mini-ITX gaming PC we’re building in the wake of AMD’s recent Ryzen CPU price reductions. This football-sized rig is tiny enough to tuck underneath your arm and ferocious enough to spit out fast framerates during an all-night LAN party session.
Graphics card and memory shortages mean it’s a horrible time to build a gaming PC, but a specialized rig like this simply can’t be found at most big box retailers. Portable yet powerful PCs yearn for a personal touch. The hardware needs to do everything you need with limited expansion and connection slots, but more crucially, it all needs to fit. There’s not much wiggle room inside a mITX case. Components can easily wind up bumping into each other if you’re not careful, and you need to consider the order of installation to avoid blocking access to crucial ports while you’re trying to plug everything in. They’re a challenge, in other words.
Well, challenge accepted. Let’s dig in!
Mini-ITX Ryzen gaming PC: What’s inside
Today’s market influenced this tiny Ryzen gaming build. We’d originally planned to make this a blazing-fast, no-holds barred system capable of chewing through gaming and productivity tasks alike without breaking a sweat. But in an era where graphics cards and RAM are selling for twice what they used to, we dialed back the scope to craft a more affordable, still portable 1080p gaming rig with CPU threads a-plenty.
All hardware was provided by its respective vendors.
 SilverStone
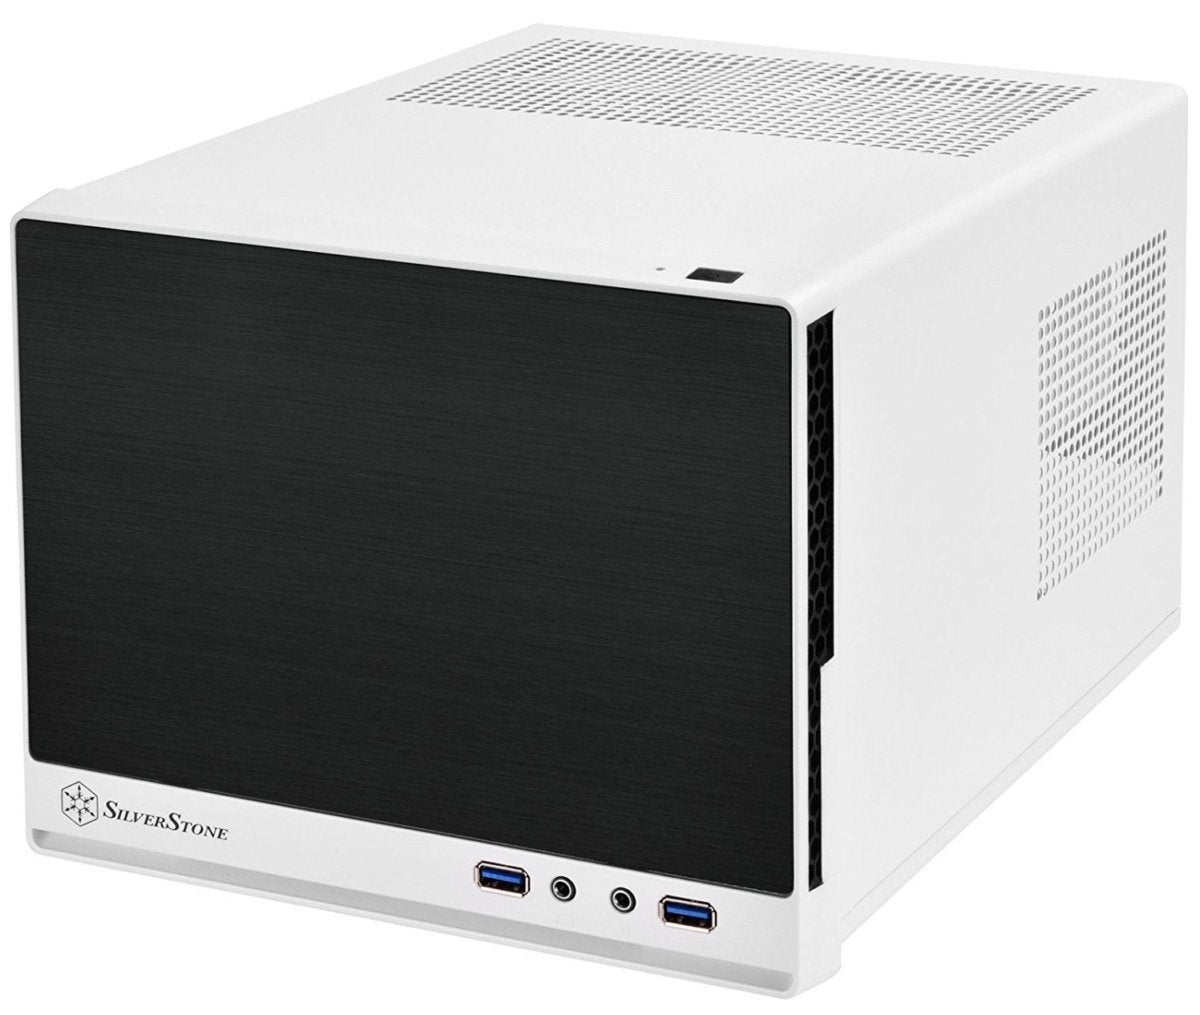
The SilverStone Sugo SG13.
Case: Usually we start these system guides by listing the core system components, but for our mini-ITX gaming PC, let’s start with the genesis of the build. After reading PCWorld’s guide on how to buy the perfect PC case, SilverStone reached out and offered to send me its well-regarded Sugo SG13 for testing. It’s been a while since I’ve built an mITX machine, so I leaped at the chance.
Mentioned in this article
SilverStone SG13WB-Q small form factor case
 Price When Reviewed:$50.34Best Prices Today:$66.05 at Amazon | $69.86 at Walmart
The adorable Sugo SG13 measures a mere 8.74 x 7.13 x 11.22 inches but can nevertheless cram in a full-length, 10.5-inch graphics card. That means even a GeForce GTX 1080 Ti Founders Edition could fit, though custom cards with beefy cooling solutions may not.
SilverStone’s case doesn’t ship with any fans. It has room up front for a single 120mm or 140mm fan or closed-loop CPU cooler radiator. Opting for the larger fan size would squeeze out a full 10.5-inch graphics card, though. Choose your path! You can find 120mm and 140mm case fans for under $10 each on Amazon; I slapped in a 140mm fan left over from a retired Corsair case.
This mini-ITX Ryzen gaming build uses the Sugo SG13WB specifically, a white-clad version of the case with black accents and a black mesh front. Ventilation holes galore adorn every panel, providing crucial airflow for the hardware on the cramped insides. The Sugo SG13WB can currently be found for $50 on Amazon, or $40 (its official MSRP) at FrozenCPU.com, a specialist PC hardware vendor.
 Brad Chacos/IDG
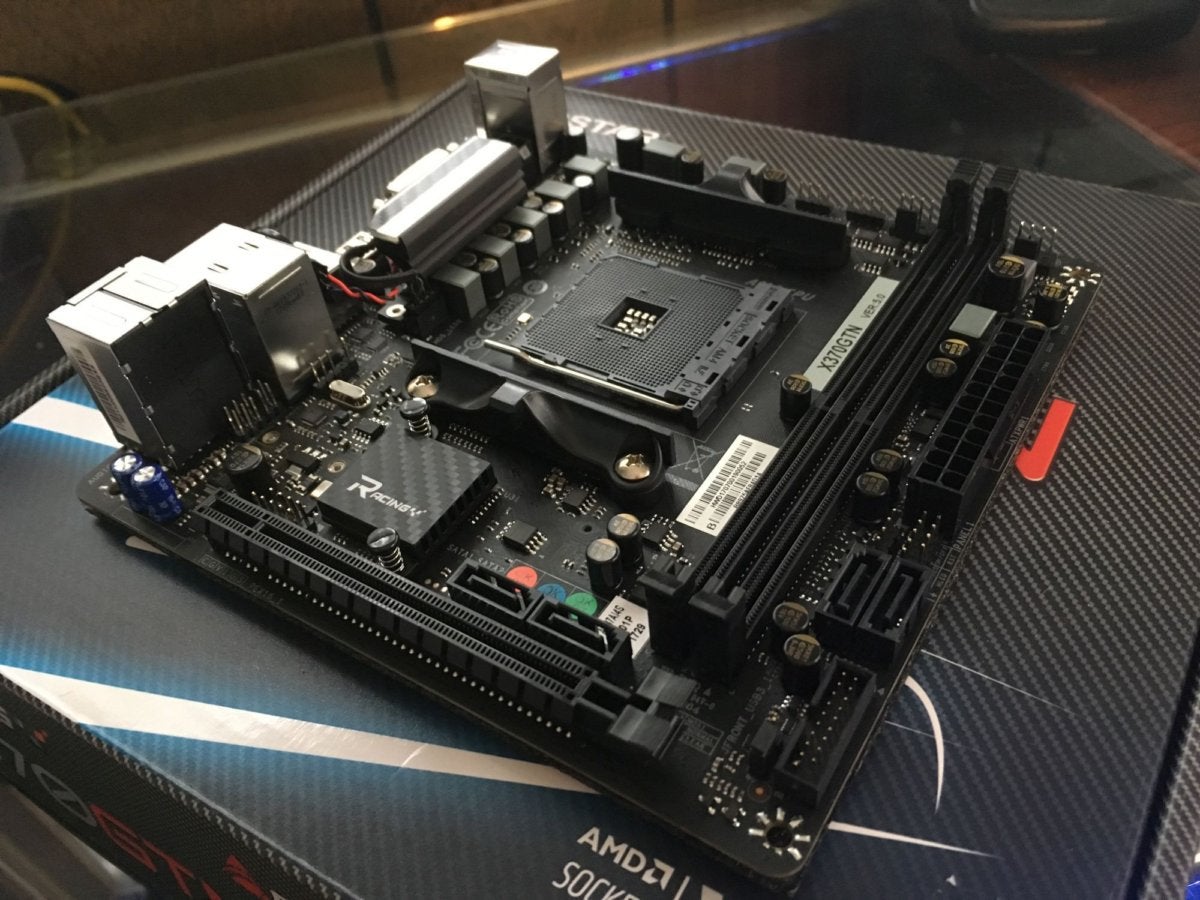
The Biostar Racing X370GTN.
Motherboard: If you’ve got a mini-ITX case, you need a mini-ITX motherboard. Full-sized mobos just won’t fit. Diminutive Ryzen motherboards are still somewhat rare. We decided to roll with the first AM4 motherboard ever released, the affordable Biostar Racing X370GTN ($110 on Newegg).
The board uses AMD’s enthusiast-class X370 chipset, as the name indicates, but its small size restricts you to using a single graphics card—not that you could fit any more in a mITX case. Biostar uses X370’s capabilities to offer a full four SATA slots, though, as well as an M.2 SSD slot on the bottom. The Racing X370GTN also lets you overclock your processor. (We won’t for this build.) Memory is limited to two slots but again, that’s all you need in a build like this.
Port-wise, the board offers DVI, ethernet, PS/2, five analog audio connections, and an S/PDIF optical out. The USB selection includes four USB 3.1 Gen 1 (5Gbps) Type-A ports, one USB 3.1 Gen 2 (10Gbps) Type-A port, and one USB 3.1 Gen 2 (10Gbps) Type-C port. Interestingly, Biostar’s motherboard also includes HDMI, which means you can use it to output video if you pair it with one of the Ryzen APUs with integrated Radeon Vega graphics. Many motherboards lack the feature. Basically, Biostar’s Racing X370GTN packs everything you need for a solid mini-ITX gaming rig, except for native Wi-Fi, and at a fine price.
 AMD
AMDProcessor: You know what’s even more satisfying than a tiny gaming PC? A tiny gaming PC with all the cores! We’re going with AMD’s disruptive Ryzen multi-core processors. While Intel’s rival 8th-gen “Coffee Lake” CPUs launched late last year, only high-end Z370 motherboards have been made available, and they’re pricey.
Mentioned in this article
AMD Ryzen 5 1600 Processor with Wraith Spire Cooler
 Price When Reviewed:$219.99Best Prices Today:$250.58 at Amazon
I’d originally planned to build this with the flagship Ryzen 7 1800X processor ($350 on Amazon) because the idea of a shoebox-sized PC with 8 cores and 16 threads makes me drool. Because the scope shifted to a 1080p gaming PC, I opted for the Ryzen 5 1600, which recently received a permanent price slashing to $199.99 on Amazon. Six cores, 12 threads, and the Wraith Spire CPU cooler included for under $200?! Yes, please.
Alternatively, you could use a Ryzen APU with integrated Vega graphics, which would let you skip the graphics card. Doing so would require many more compromises to in-game graphics details and resolution, though.
 Brad Chacos/IDG
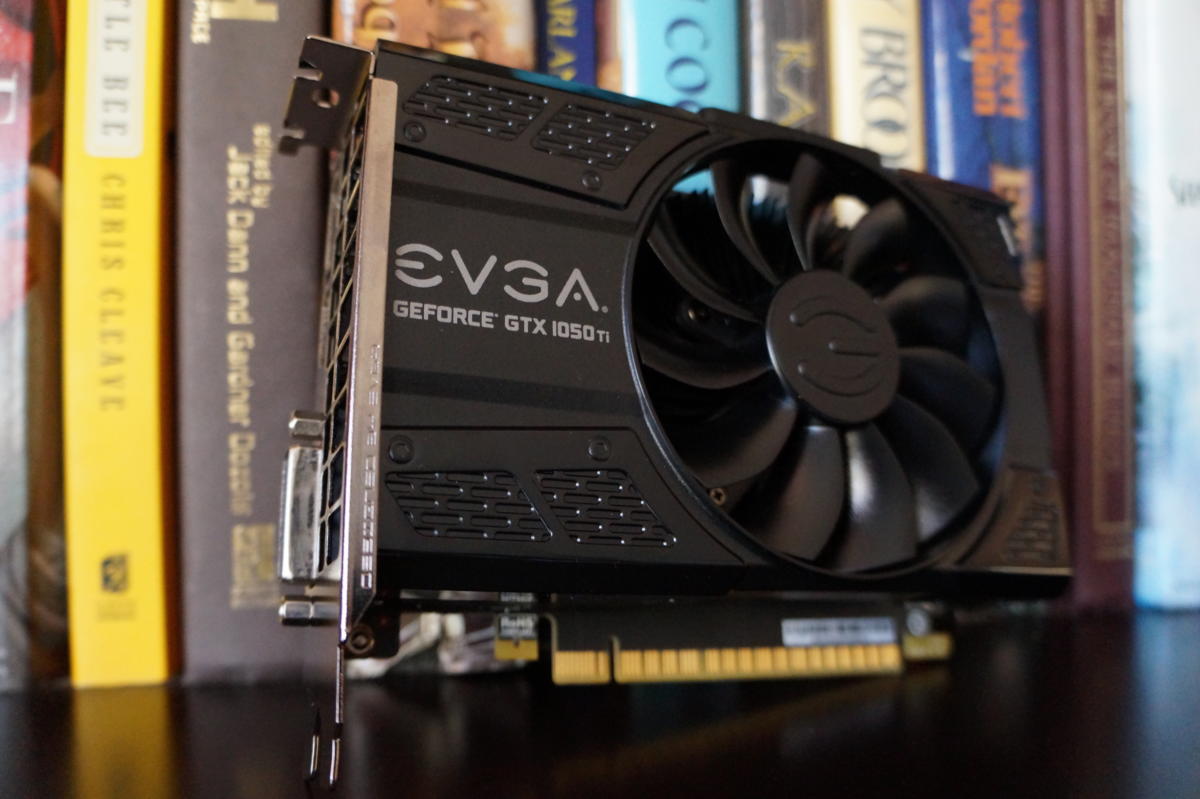
The EVGA GTX 1050 Ti.
Graphics card: I’d originally hoped to stuff a GeForce GTX 1080 Ti Founders Edition into this itty-bitty SilverStone Sugo SG13, but well, they’re selling for $1,300 these days. Hard pass. So now we’re using a GeForce GTX 1050 Ti. This card delivers console-beating 1080p performance without breaking the bank—even though it is selling for higher than its $140 MSRP right now.
The EVGA GTX 1050 Ti cost $180 on Newegg when we spec’d out this rig, but it’s since leaped to over $330. Volatile graphics card prices sure do ruin a good build. Just grab the cheapest GTX 1050 Ti you can find on Newegg, but you probably don’t want to spend more than around $200.
Most of these energy-efficient cards have a single fan and don’t need supplementary power cables, making them perfect for a space-constrained mini-ITX build. Ideally, you’d use a reference card with a blower-style fan in a small form-factor case in order to expel the hot air out of the rear of your system, but Nvidia never created a Founders Edition version of this card. It doesn’t get overly hot anyway.
The 6GB GeForce GTX 1060 or Radeon RX 570 would be the best 1080p gaming option in a vacuum, but here in reality, they’re selling for more than twice their MSRPs. Again: Hard pass. The GTX 1050 Ti gets the job done, as you’ll see later!
 Brad Chacos
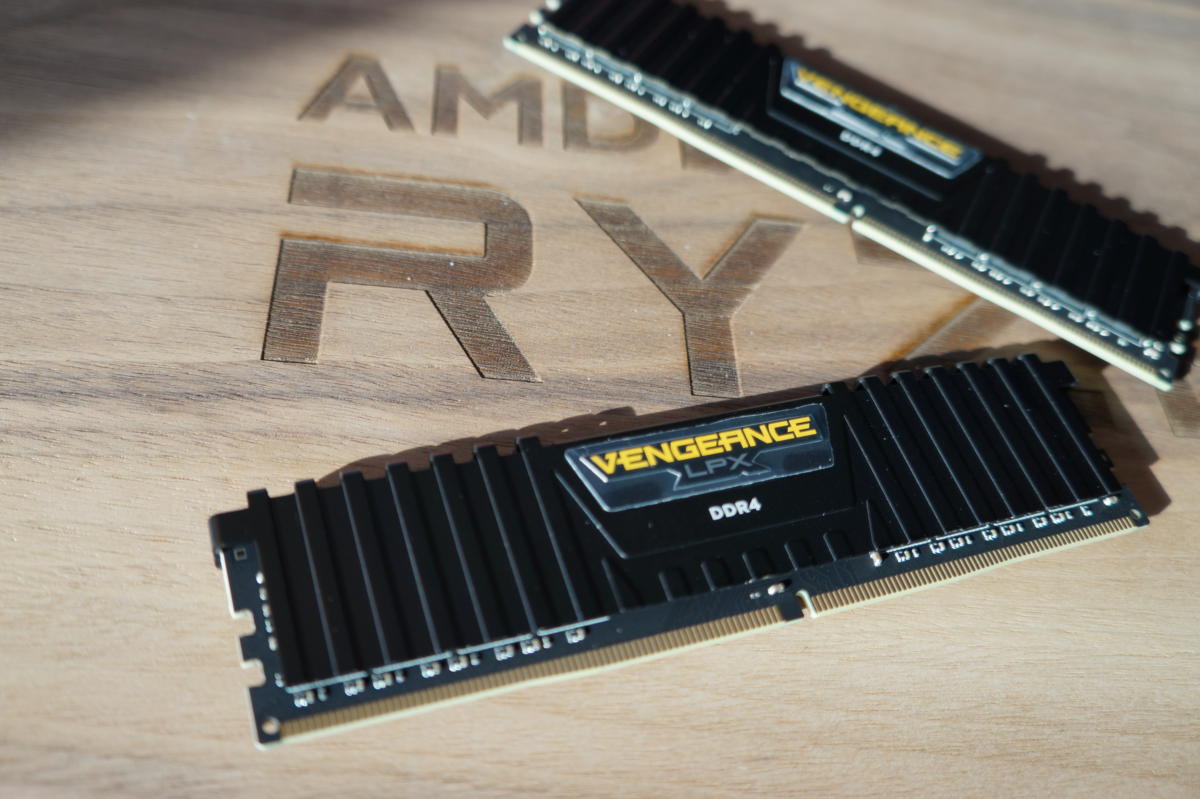
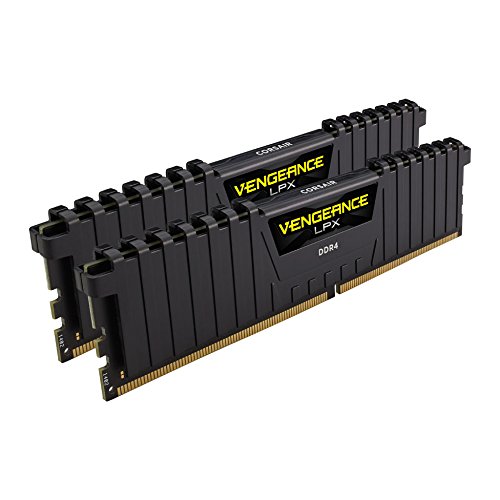
Memory: RAM prices suck, too. Our 8GB kit of Corsair Vengeance 3,000MHz RAM costs a staggering $120 on Amazon these days, a twofold price increase compared to what it cost in January 2017, per CamelCamelCamel. That hurts—and every memory kit has been similarly affected. You just have to grit your teeth and pay the price if you’re building a PC these days. The Ryzen platform requires DDR4 RAM, so you can’t just swap in DDR3 sticks left over from a previous computer.
Mentioned in this article
Corsair Vengeance LPX 8GB (2x4GB) DDR4 3000MHz kit
 Price When Reviewed:$74.99
Shop around if you want to look for a better price, but take note of two things. First, you want 8GB of RAM for a gaming PC—some modern games list that as the minimum requirement these days. Second, Ryzen’s performance increases with faster RAM, which is why we’re using a 3,000MHz kit. Dropping down to the 2,400MHz version of this Corsair Vengeance kit cuts $15 off the price if you’re really pinching pennies, though.
Storage: I used an older Intel 730 series SSD I had lying around for this build, because I’m a sucker for aggressive silver skulls. They’re discontinued now, though. If you’re following along, consider picking up the Samsung 850 EVO ($150 on Amazon for 500GB) instead. Samsung’s drive is the best SSD for most people thanks to its superb mix of performance, capacity, and affordability.
 SilverStone
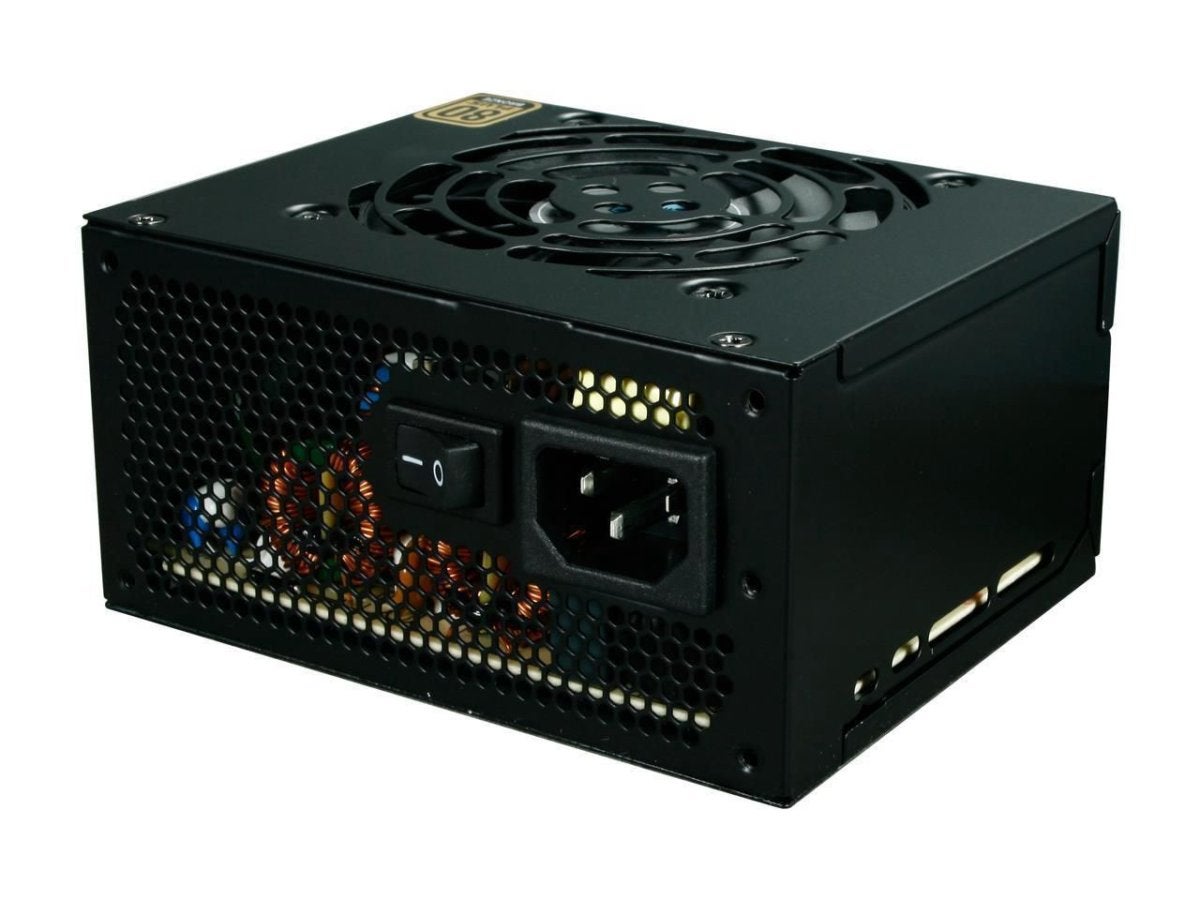
 Awwww, it’s a tiny power supply!
Mentioned in this article
SilverStone 450W SFX Power Supply (ST45SF-V3)
 Price When Reviewed:$59.99Best Prices Today:$95.38 at Amazon | $97.1 at Walmart
Power supply: The Sugo SG13 accepts standard ATX power supplies, but the power supply sits above the motherboard in the case. Going with a full-sized PSU wouldn’t give much clearance for the CPU cooler; you’d basically need to use a closed-loop liquid cooler or low-profile air cooler. Instead, we opted for SilverStone’s ST45SF ($60 on Amazon) so that we could use the Wraith Spire CPU cooler included with the Ryzen 5 1600. This tiny 450W, 80 Plus Bronze-rated power supply is tailor-made for small form factor PCs and comes with an adapter bracket to fit into standard PSU slots. It’s cute!
Grand total: $854. Even with a modest graphics card and just 8GB of RAM, today’s sky-high hardware prices nudged the total higher than expected. If you buy a basic monitor like this $90 HP Pavilion model, an affordable keyboard and mouse combo like the Logitech MK120 ($15.90 on Amazon), and a $30 Windows 10 license on Kinguin to complete the PC package, the final price winds up around $1,000.
Next page: Building and testing the mini-ITX Ryzen gaming PC.
Building the mini-ITX Ryzen gaming PC
PCWorld’s guide on how to build a PC provides a step-by-step overview of hardware installation—but working in such a diminutive case requires much more forethought than full-sized builds do. We’ll talk about those unique quirks here.
 Brad Chacos/IDG
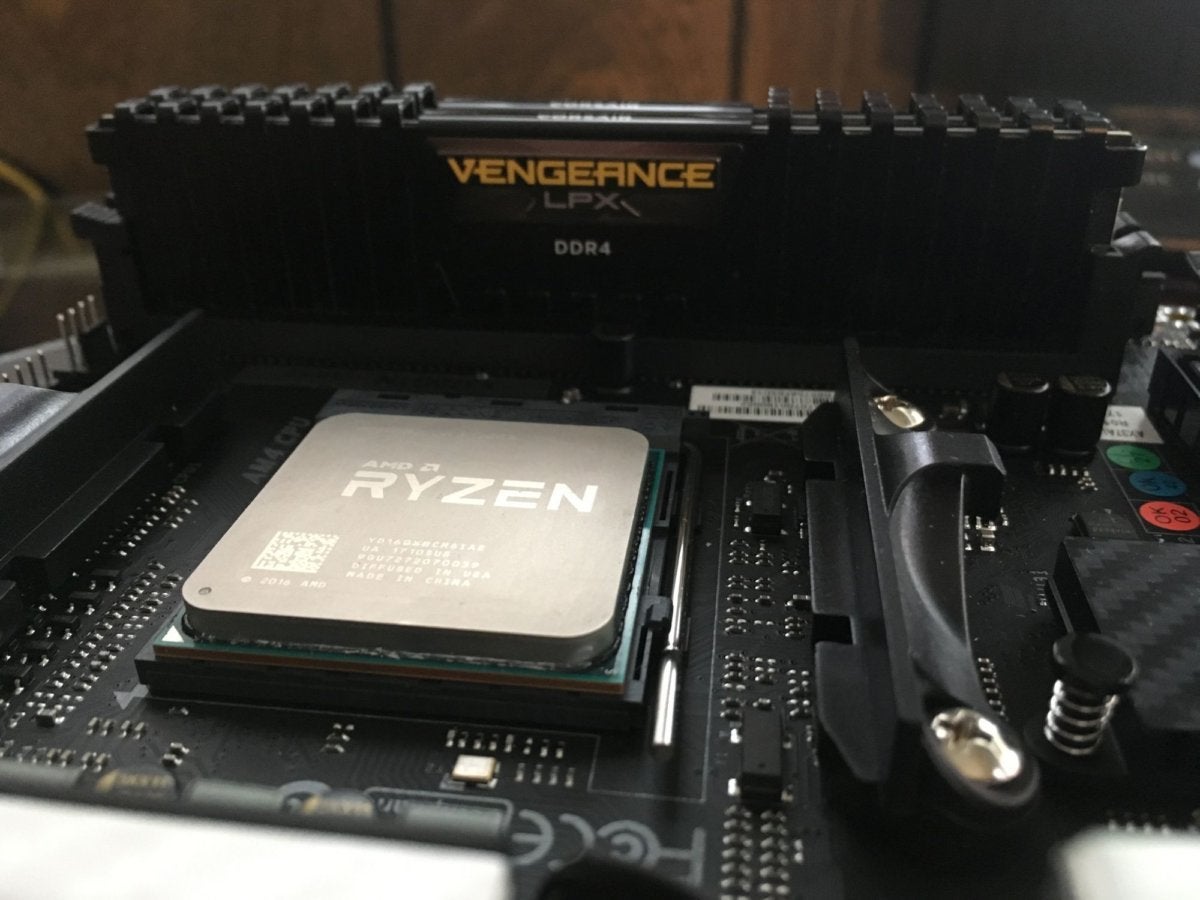
Building out the Biostar Racing X370GTN motherboard.
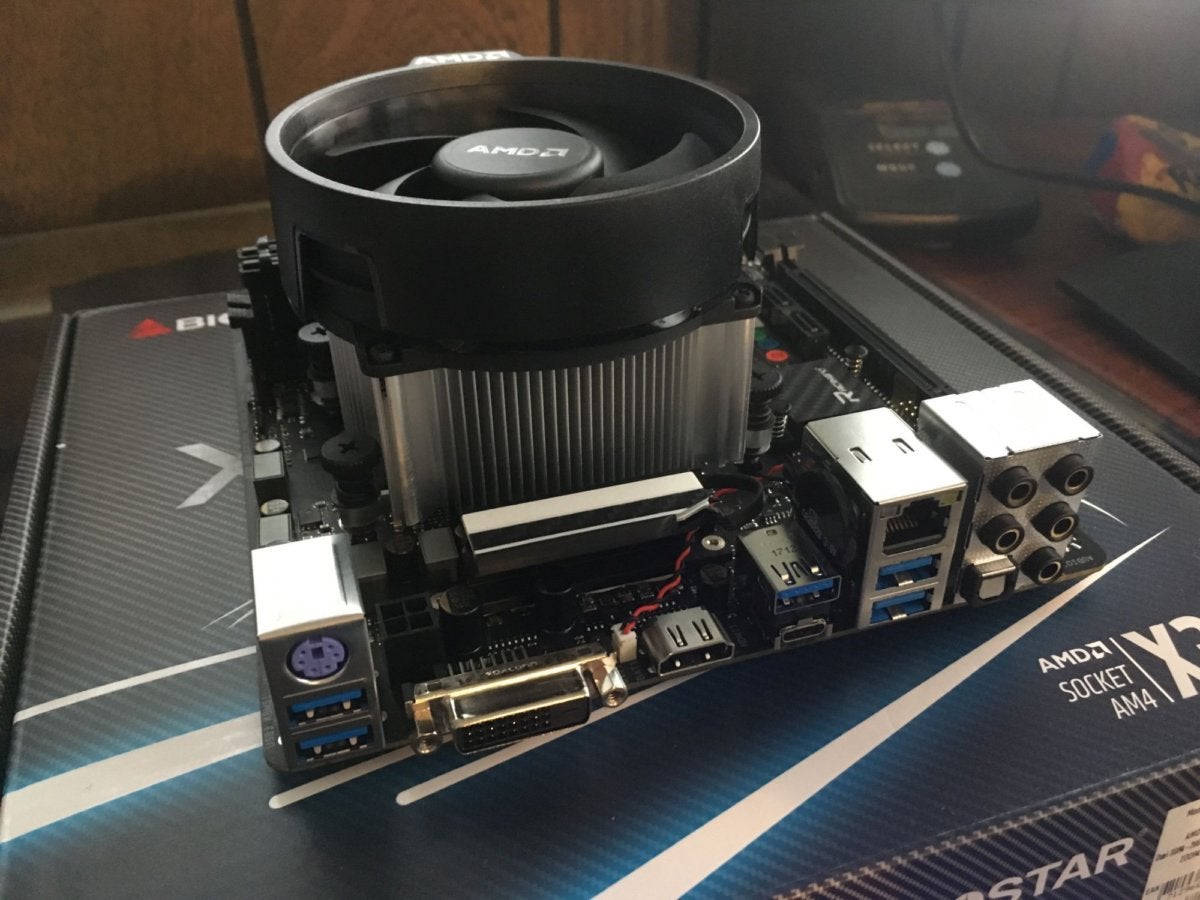
As ever, I started by building out the motherboard. The Ryzen 5 1600 slipped right into the CPU socket after aligning the triangles found on a corner of each. The bundled Wraith Spire cooler simply screws into the stock Ryzen support bracket. Easy! (Plug the cooler into the motherboard’s CPU fan header now, before installing the motherboard in the case. Your fingers will appreciate it.) Because the Biostar Racing X370GTN packs only a pair of memory channels, I didn’t even need to check slot compatibility for the two sticks of Corsair Vengeance RAM. Just drop them in.
 Brad Chacos/IDG
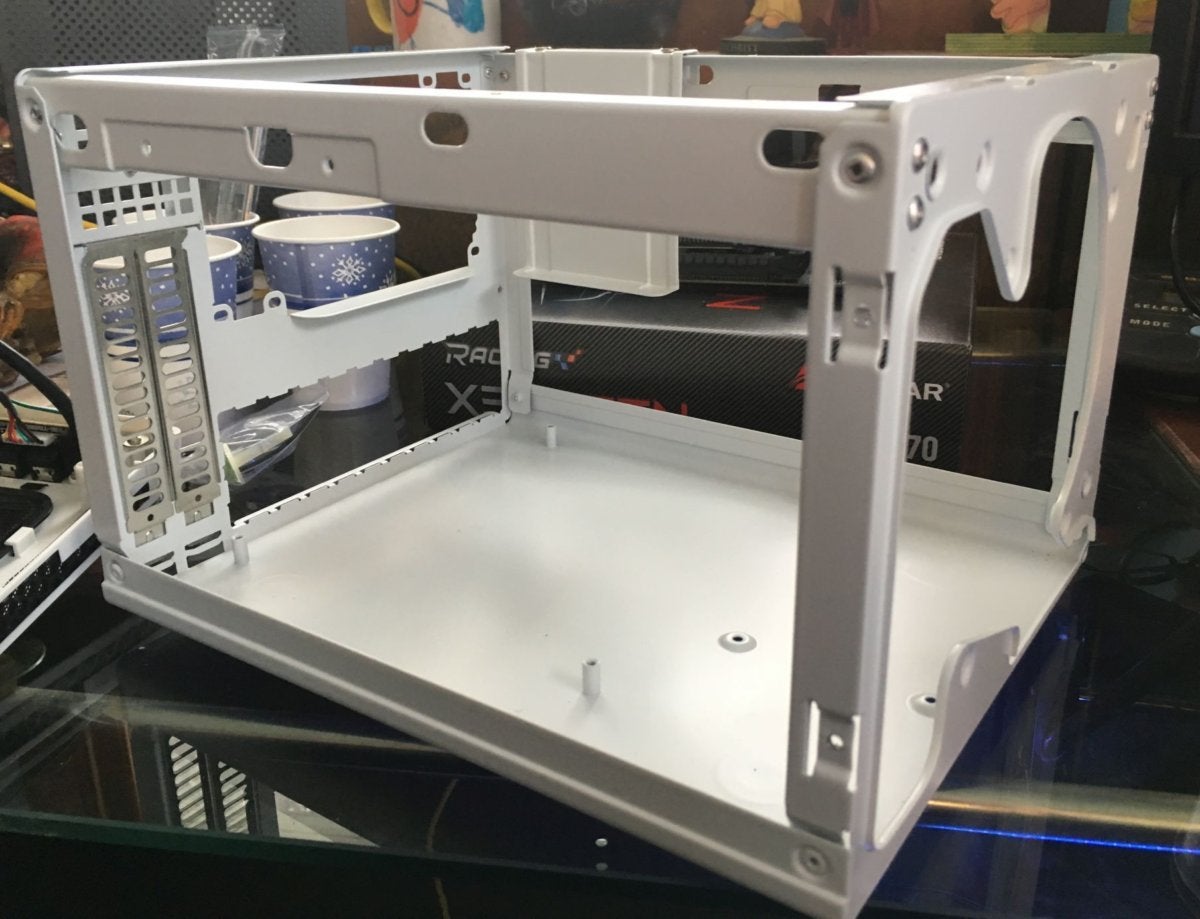
With that done, it’s time to dig into the case. After removing some screws on the rear of the SilverStone Sugo SG13 you can slide the top and side panels off in one fell swoop—they’re all made from a single piece of metal. Inside, you’ll find a bag of screws and other hardware tied to the frame, as well as a collection of cords snaking in from the front panel connections. Remove the tie from around those cords and you can pop the front panel off, too. Finally, there’s a storage bracket screwed toward the front of the top panel’s frame. Take that off as well to strip the case to its bare bones. You’ll want the wiggle room.
 Brad Chacos/IDG
The SilverStone Sugo SG13 stripped bare.
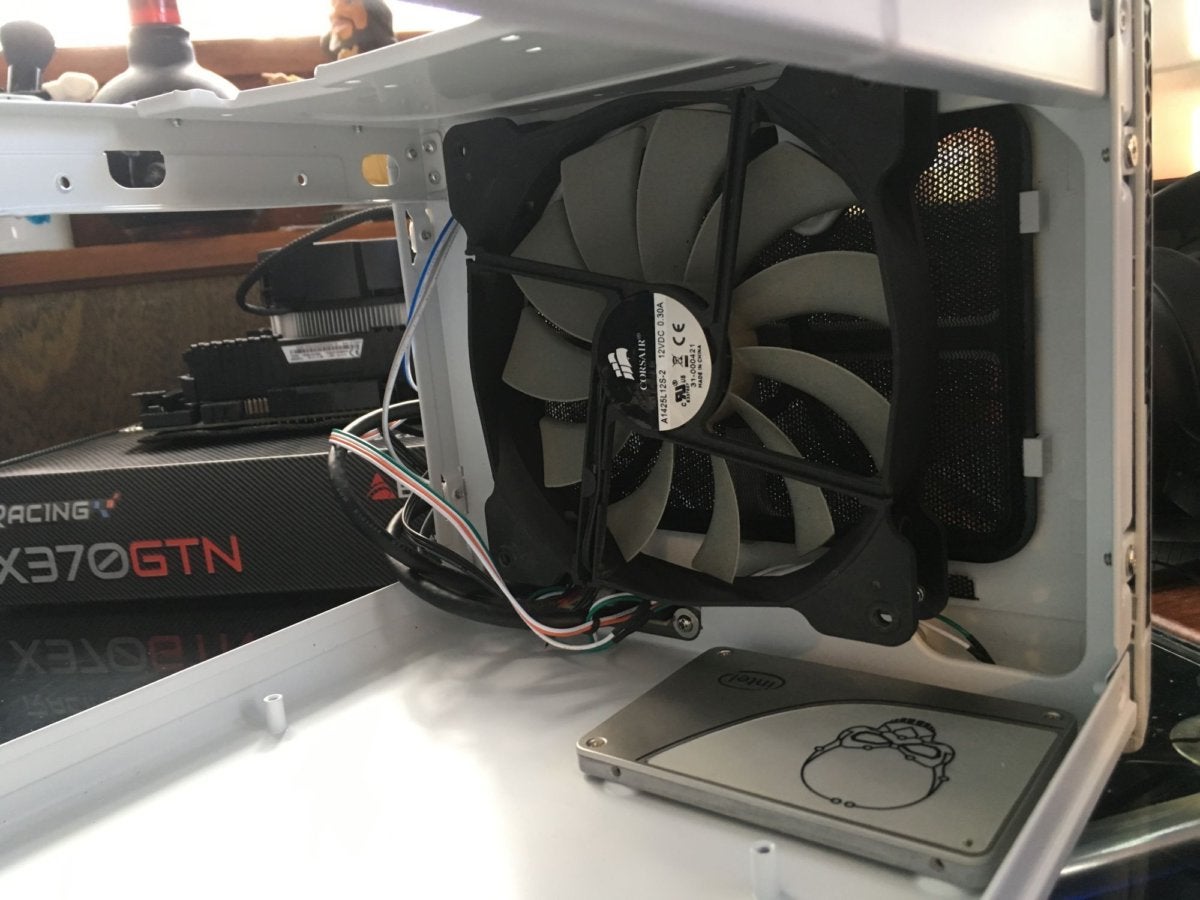
SilverStone’s manual says to install the motherboard first, but I respectfully disagree. That clutters up the cramped interior of the case. Install your storage and (optional, but you should really include it) case fan beforehand. Start with the SSD, installing it in the single drive location on the bottom panel of the case. The case fan screws easily into the front panel; we’d suggest making it an intake fan to blow cool air over the components inside.
 Brad Chacos/IDG
Install your storage and optional case fan first.
If you want to install a hard drive or up to two more SSDs, use the storage bracket you removed earlier. Be warned: An SSD mounted to the bracket makes for a very tight fit if you use a larger 140mm case fan. Don’t reinstall the storage bracket yet.
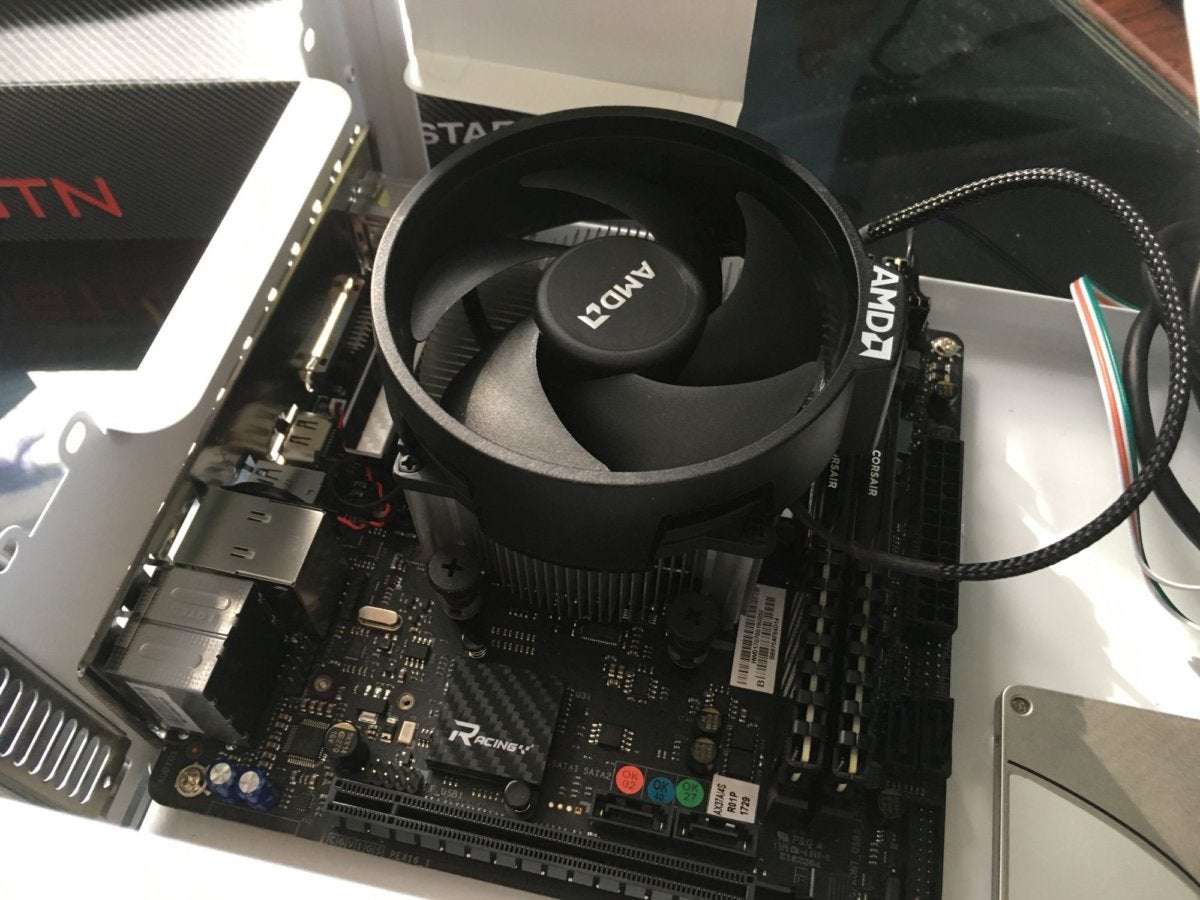
Now it’s time to install the motherboard. Well, after inserting the motherboard I/O shield into the rear of the case. You don’t want to commit that common PC building mistake. Securing the motherboard is easy with the storage bracket still removed. Plug in your cables now, including the front panel connections, as the case is about to get real full, real fast.
 Brad Chacos/IDG
Then install the built-out motherboard after.
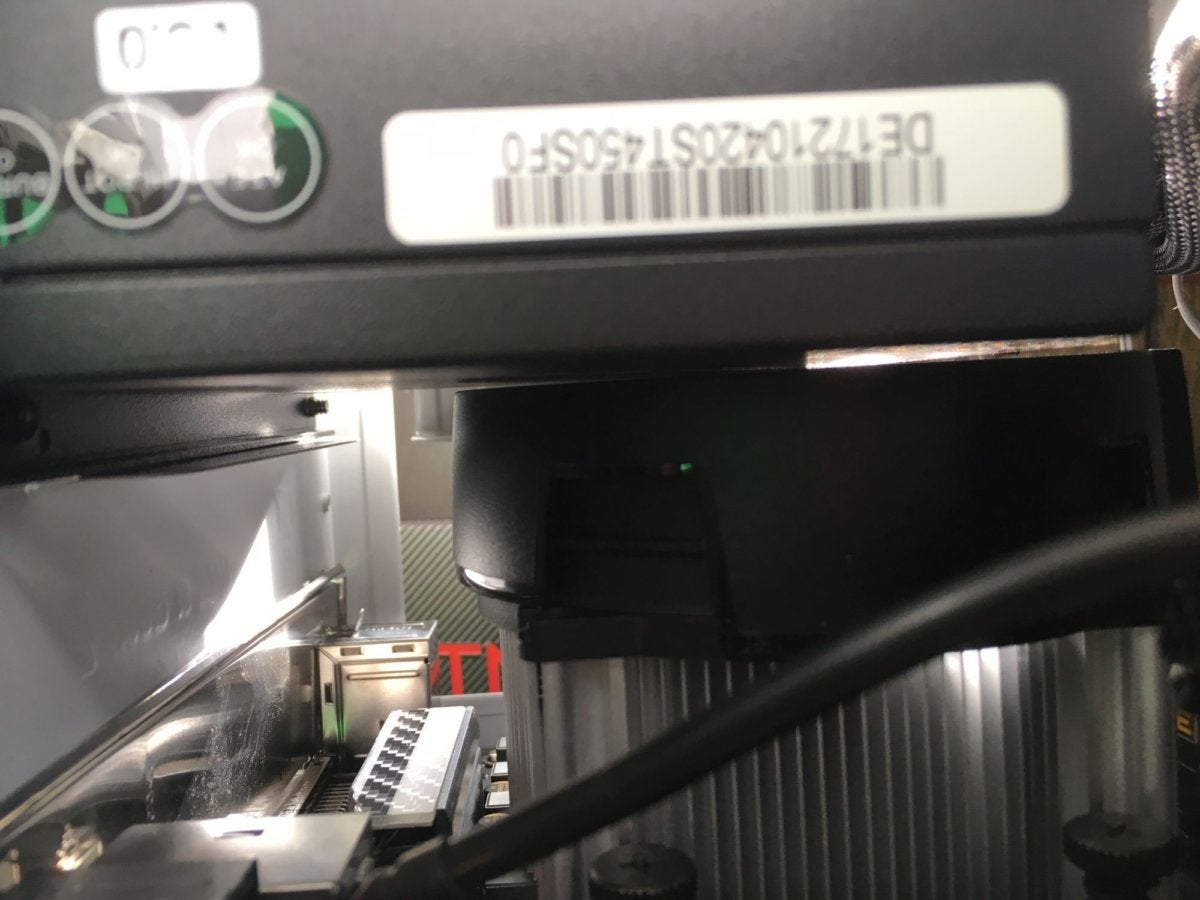
Add the power supply before the graphics card, as there isn’t much space between the two. Screw the SilverStone ST45SF into its adapter bracket first, then STOP! Don’t install the power supply yet. You won’t be able to plug in the motherboard’s 4-pin power header if you do, as it sits right underneath the PSU. Slip that connector in first, then screw the power supply (via adapter) into the case, with the PSU exhaust fan pointing out of the case. There’s only a sliver of open air between the Wraith Spire cooler and the bottom of the SilverStone ST45SF, but it works just fine.
 Brad Chacos/IDG
There’s seriously little room between the Wraith Spire CPU cooler and SilverStone’s tiny power supply.
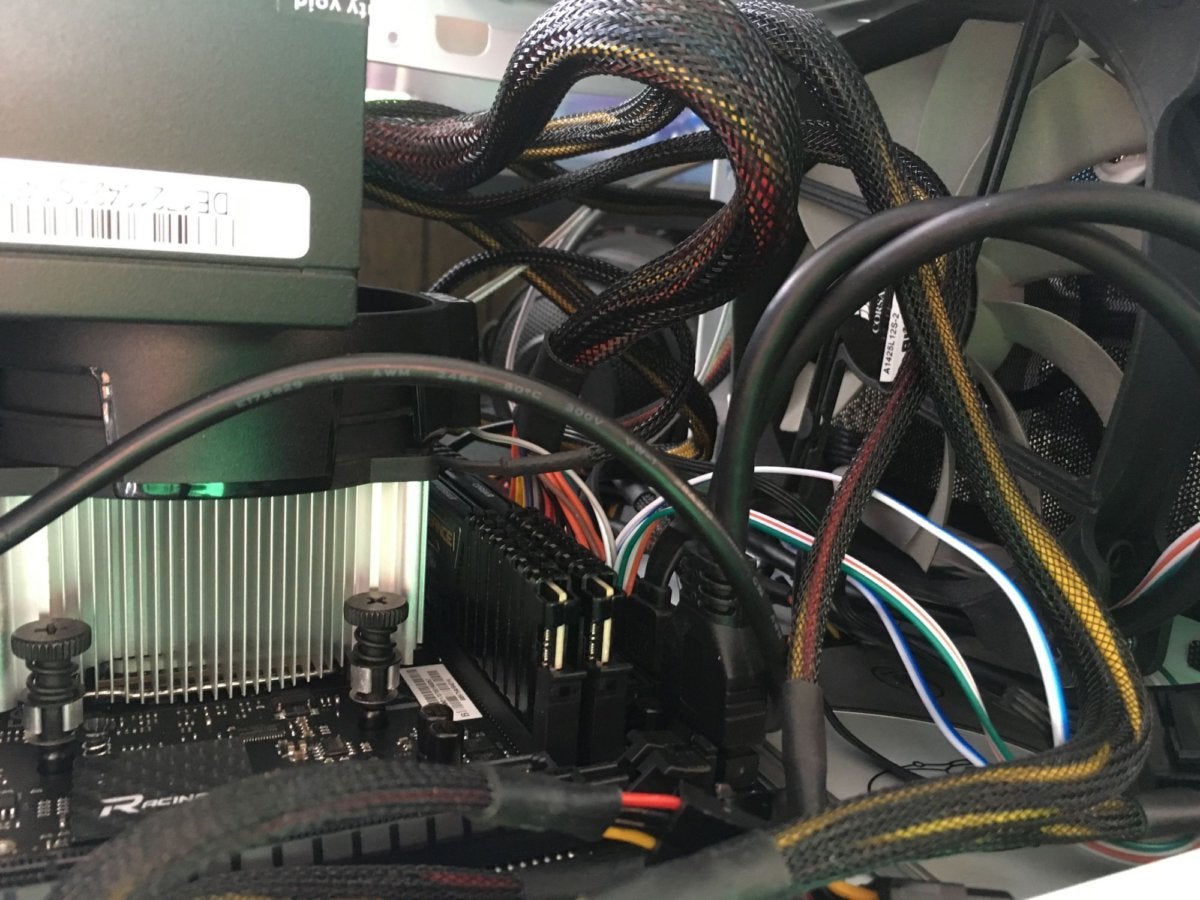
Fortunately the Sugo SG13 lacks clear panels, because cable management in mini-ITX cases gets ugly. After you’ve connected the power cables for your SSD and motherboard, just tuck the rest of the ST45SF’s cables wherever you find some room. Be sure not to catch them in the system’s fans! I snaked mine into the space between the power supply and the case fan, and worked some others over to the left side of the case, between the panel and where the graphics card will sit. If you have some extra budget, SilverStone also offers a version of this power supply with an 80 Plus Gold rating and modular cables—which means you only install the ones you need—for $90 on Amazon.
 Brad Chacos/IDG
Cleaning up the cables inside a mini-ITX computer can be tricky—or futile, depending on how you look at it.
The graphics card is the final hardware you need to install. You’ll need to remove a bracket on the rear panel of the case that secures the blank plates (and eventually your graphics card’s video outputs) first. After that, you simply slide the graphics card into the motherboard’s sole PCI-E x16 slot. Most GeForce GTX 1050 Ti variants (including the EVGA GTX 1050 Ti we used here) don’t require any supplementary power connections from the power supply. Side note: If you opt for a larger, more powerful graphics card, you may need to install it by sliding it through the front of the case. The tiny GTX 1050 Ti has no problem dropping in the top opening though.
Tidy up any remaining cables, replace the GPU plate and storage brackets, then slide the exterior panels back on. You’ve got yourself a portable, hexa-core gaming rig! Install your operating system of choice and connect the mini-ITX Ryzen gaming PC to your peripherals and monitor.
Mini-ITX Ryzen gaming PC performance
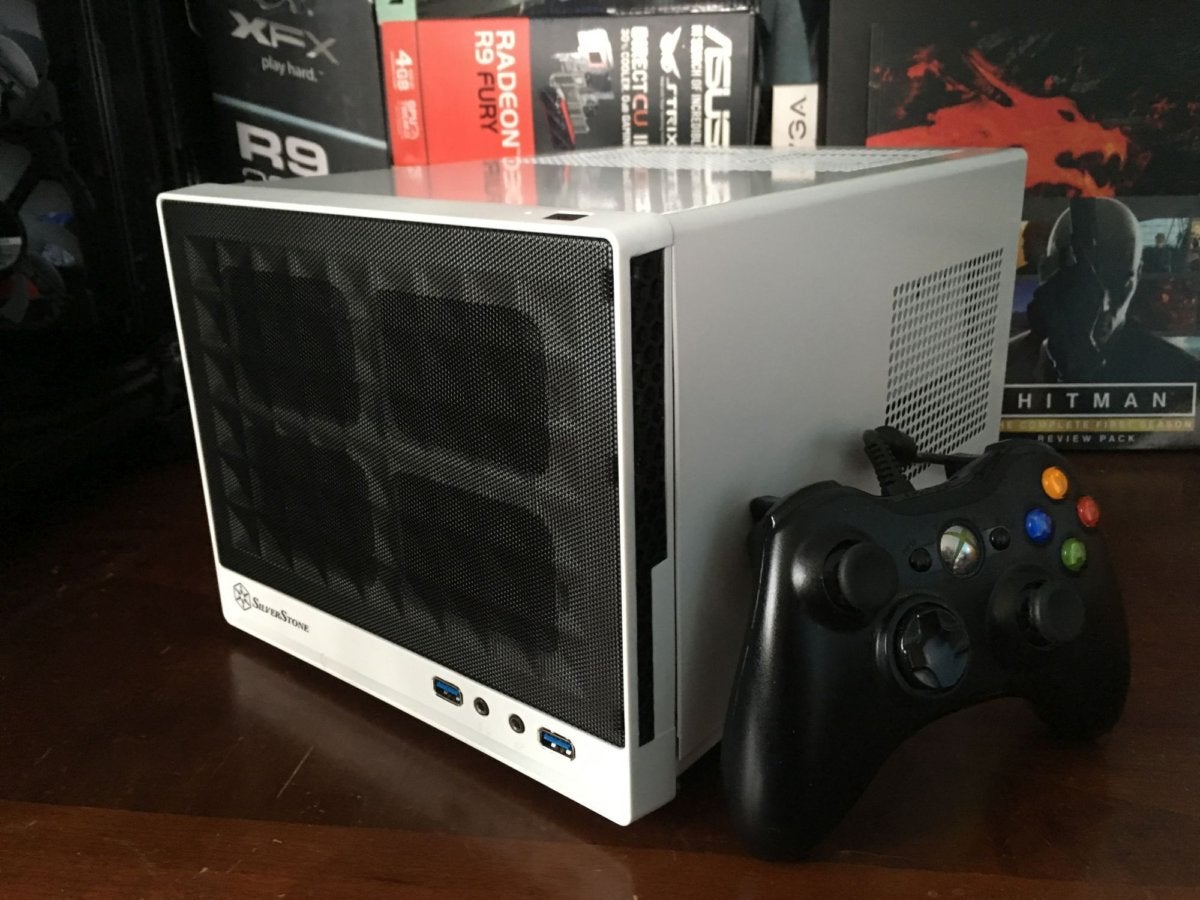
Portability is only part of this tiny PC’s appeal. It’s got game, too.
 Brad Chacos/IDG
Yup, it’s small—but she’s got it where it counts, kid.
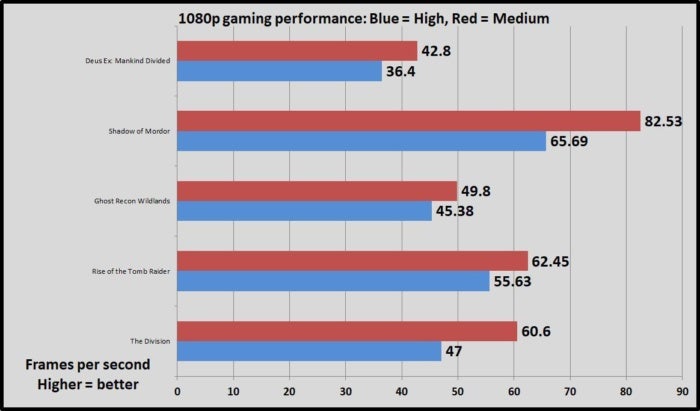
To test the mini-ITX Ryzen gaming PC’s chops, we loaded it up with a variety of games from PCWorld’s various testing suites, testing each in DirectX 11 mode with V-Sync and GPU-specific features (like Nvidia Gameworks effects and AMD’s TressFX) disabled. We tested at 1920×1080 resolution.
The GTX 1050 Ti inside proved more capable than today’s gaming consoles, easily clearing the 30 frames-per-second barrier with all the visual bells and whistles cranked to High.
 Brad Chacos/IDG
Heck, with the exception of Deus Ex: Mankind Divided—an especially demanding game included to see how this rig performs when you make it sweat—all of the games surpass 45 fps with High graphics settings. You could push most of the games closer to the hallowed 60-fps mark by dropping some visual options down to Medium. This rig could put in a strong showing at a LAN party. Because the build uses a solid-state drive, load times proved nice and speedy as well.
Overheating can be a concern with such small builds, and I was worried the abundant cabling and restricted airflow inside would cause temperatures to spike. Nope. SilverStone gave the Sugo SG13 abundant ventilation on all sides. This system runs a little hotter than a similarly configured full-size build would, but after gaming for over an hour straight, the CPU temperature maxed out at 72 degrees, and 57 degrees for the graphics card. That’s nothing to worry about whatsoever. (Think twice about overclocking a rig like this unless you spring for fancier liquid cooling, though.) You can definitely hear the fans spinning but they’re not excessively loud.
These gaming benchmarks represent stock performance, too. If you tried some of these seven tricks to maximize your Ryzen PC’s performance, your frame rate could soar even higher.
In the end, I’m very happy with this build. It’s one-sixth the size of most of the PCs lying around my office, it games with far more ferocity than consoles, and its 6-core, 12-thread Ryzen CPU makes the tiny rig a productivity beast. Sure, it’d be nice if memory and graphics prices weren’t outrageously inflated right now, but you won’t find a potent system this tiny at any big-box retailer. Building something you can’t find anywhere else with your own two hands feels incredibly cathartic—especially when a system this satisfying is the result.


