Build a cheap Ryzen gaming PC for $550 or less

 Image: Brad Chacos/IDG
AMD’s Ryzen processors sure are shaking up the status quo of computing, and now that disruption is extending to cheap gaming PCs.
The high-end Ryzen 7 lineup slashed the price of 8-core CPUs from $1,000 to as low as $330. Ryzen 5 overtook Intel’s Core i5 chips as the best CPU for mainstream buyers, enabling truly versatile computer builds and 8-thread gaming PCs for previously unheard-of prices. Now the affordable Ryzen 3 series has finally arrived, and while its value proposition is a bit more mixed (as you can see in the discussion in the video below), it also unlocks new capabilities, offering competitive quad-core chips in a segment where Intel’s dual-core Core i3 processors traditionally ruled the roost.
Time to see what Ryzen 3 is capable of.
Any processor can look good paired with potent hardware. To paint a more realistic performance picture, we built a quad-core Ryzen 3 gaming PC on an affordable $550 budget. This is the kind of budget desktop that a newfound or cash-strapped PC gamer would actually create. And beyond the mere act of testing a practical Ryzen 3 build, this exercise served as an excellent reminder of the flexibility of AMD’s platform, this year’s wild PC pricing fluctuations, and the minor headaches suffered when assembling a DIY system on a tight budget.
Enough chit-chat. Let’s go!
Cheap Ryzen gaming PC: The components
The goal of this build: Creating a solid, yet cheap gaming PC with a lot of upgrade potential for the future—a strength of AMD’s Ryzen ecosystem. Here are the parts we wound up with.
 Brad Chacos/IDG
Mentioned in this article
AMD Ryzen 3 1200 with Wraith Stealth cooler
 Price When Reviewed:$109.00Best Prices Today:$79.99 at Walmart | $105 at Amazon
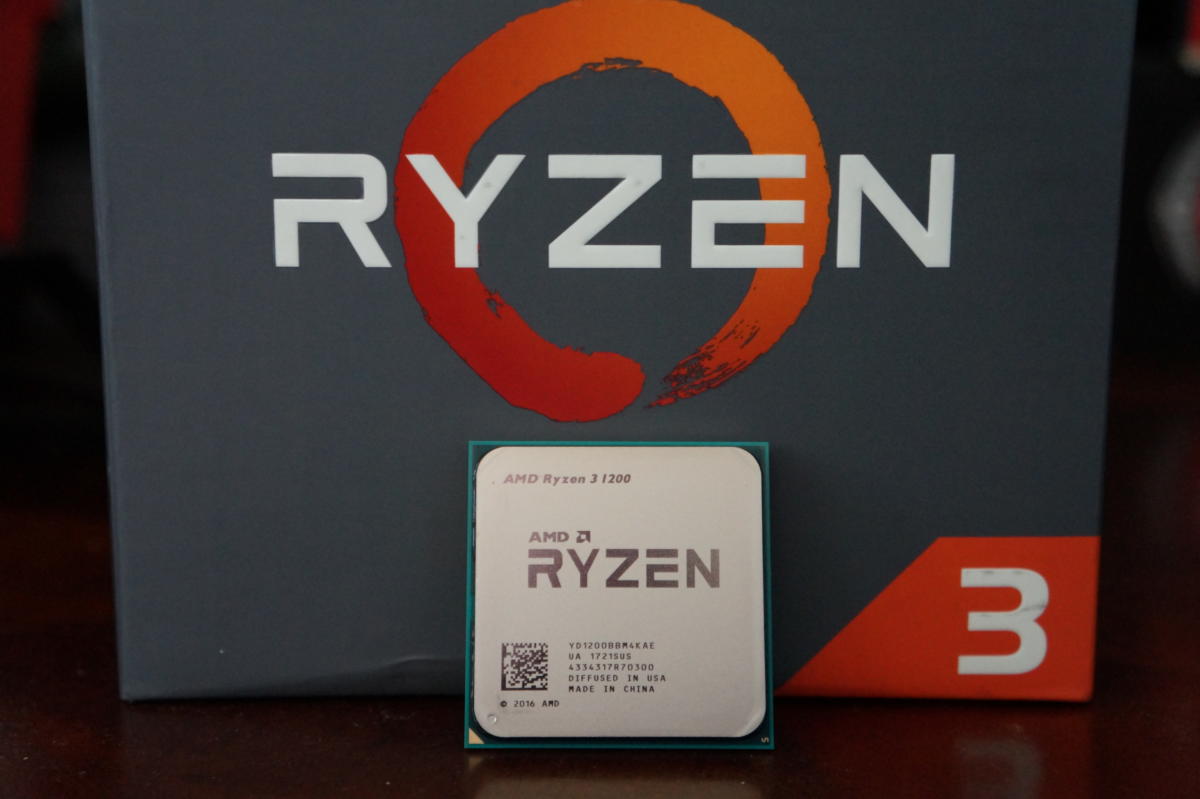
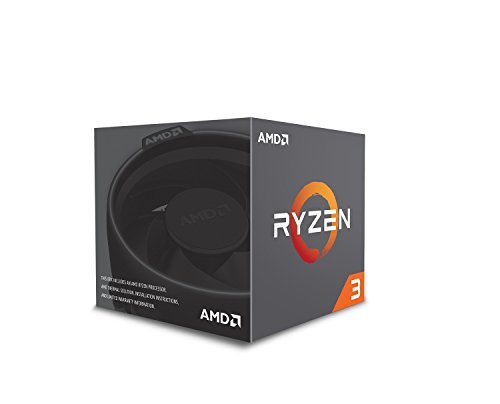
Processor: It all starts with Ryzen 3—the Ryzen 3 1200 ($110 on Amazon) to be specific. This quad-core chip offers modest 3.1GHz to 3.4GHz clock speeds, but as with all Ryzen chips (and unlike affordable Intel Core i3 chips), you can crank those speeds higher with some manual tuning. Overclocking results vary based on the silicon lottery, of course, but the chip we used hit 4GHz no problem, and reports online suggest many Ryzen 3 1200 CPUs can be pushed to 3.9GHz without much difficulty. Free performance? Yes, please!
It’s worth noting that Ryzen 3 chips lack integrated graphics, so you have to pair them with a graphics card in order to output video to your monitor. That won’t matter with a gaming build, though, as we’re definitely using a dedicated graphics card.
If you’re not interested in manual overclocking, the 3.5GHz to 3.7GHz Ryzen 3 1300X ($130 on Amazon) comes clocked higher, but for $20 more.
 Brad Chacos/IDG
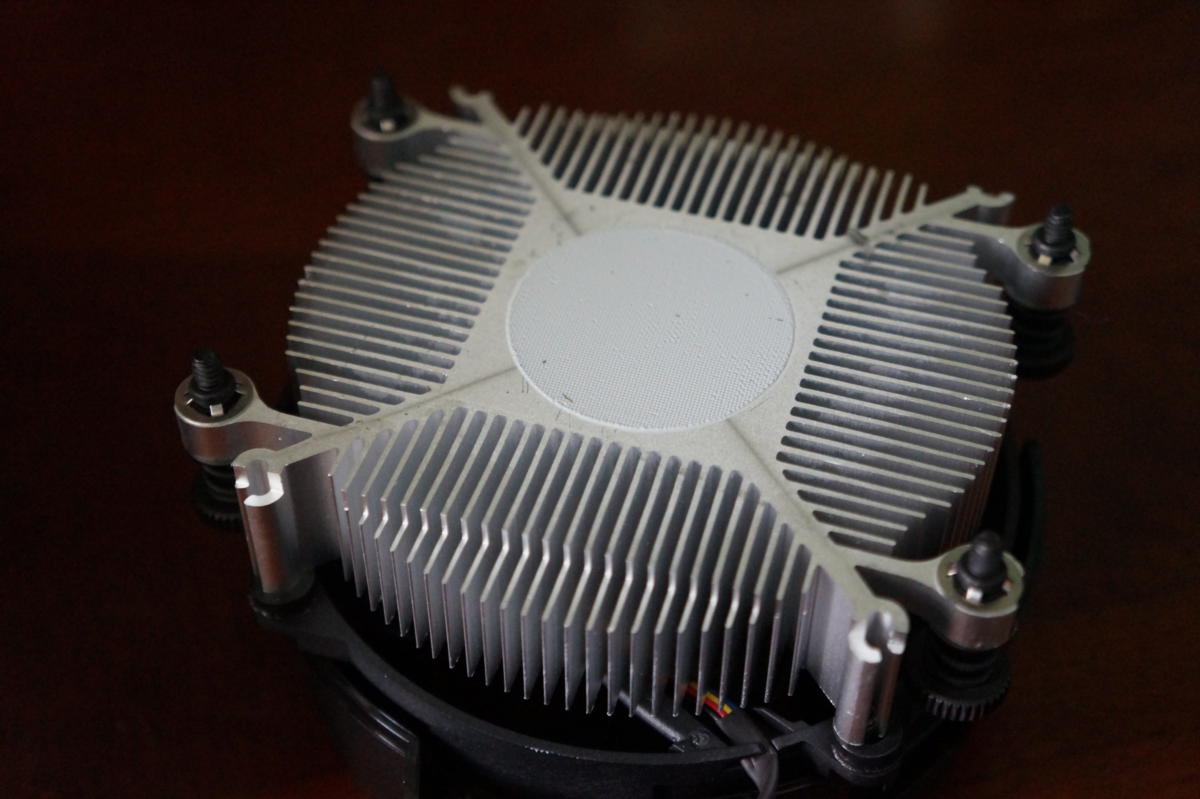
The tiny Wraith Stealth cooler that comes with Ryzen 3 1200 has pre-installed thermal paste.
CPU cooler: All Ryzen 3 chips include AMD’s Wraith Stealth cooler in the box. It’s by far the least potent of AMD’s Wraith offerings, and is easily surpassed by third-party solutions, but the Wraith Stealth is no slouch. It’s reasonably quiet and enables pretty decent overclocks. And did we mention it’s free?
If you want a bit more cooling power but want to keep costs down, Cooler Master’s Hyper 212 Evo ($29 on Amazon) is an excellent budget option. You’ll need to contact the company for an AM4 motherboard compatibility bracket, though.
 Gigabyte
Mentioned in this article
GIGABYTE GA-AB350-Gaming 3 motherboard
 Price When Reviewed:$109.99
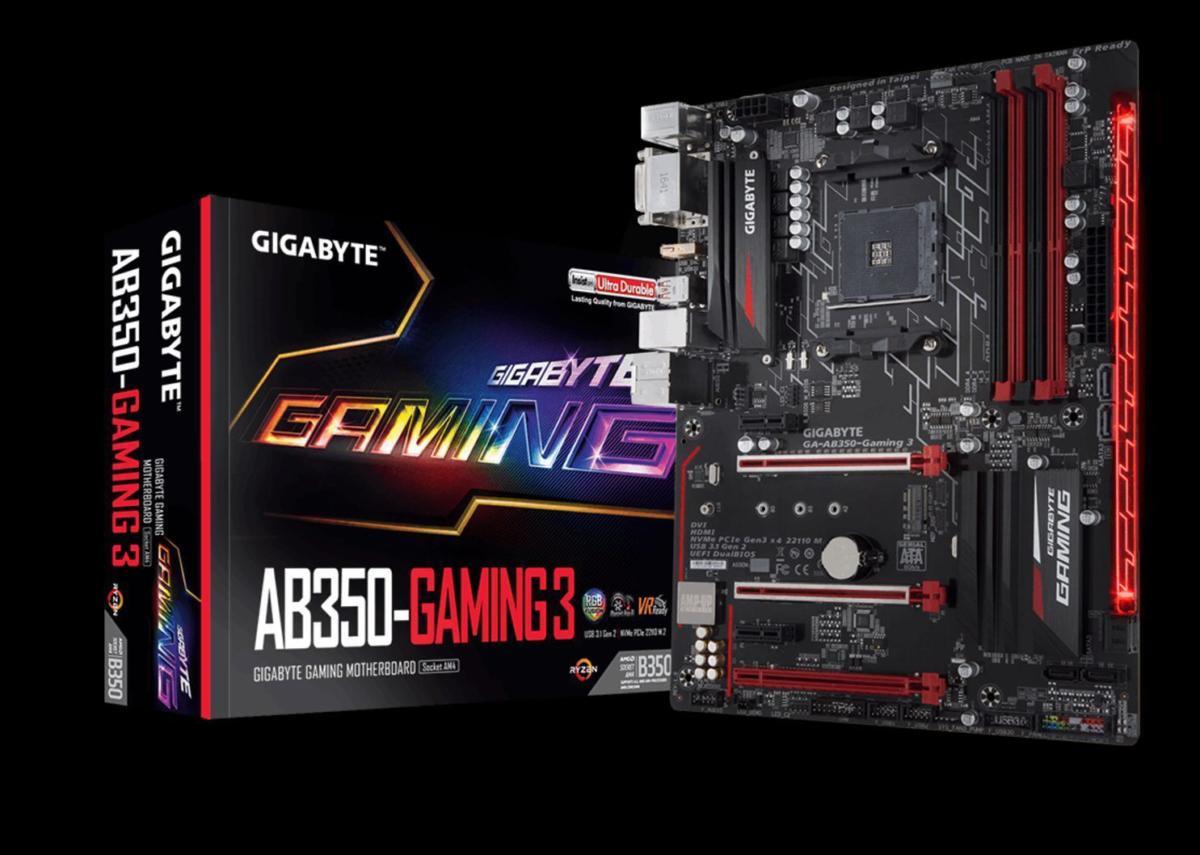
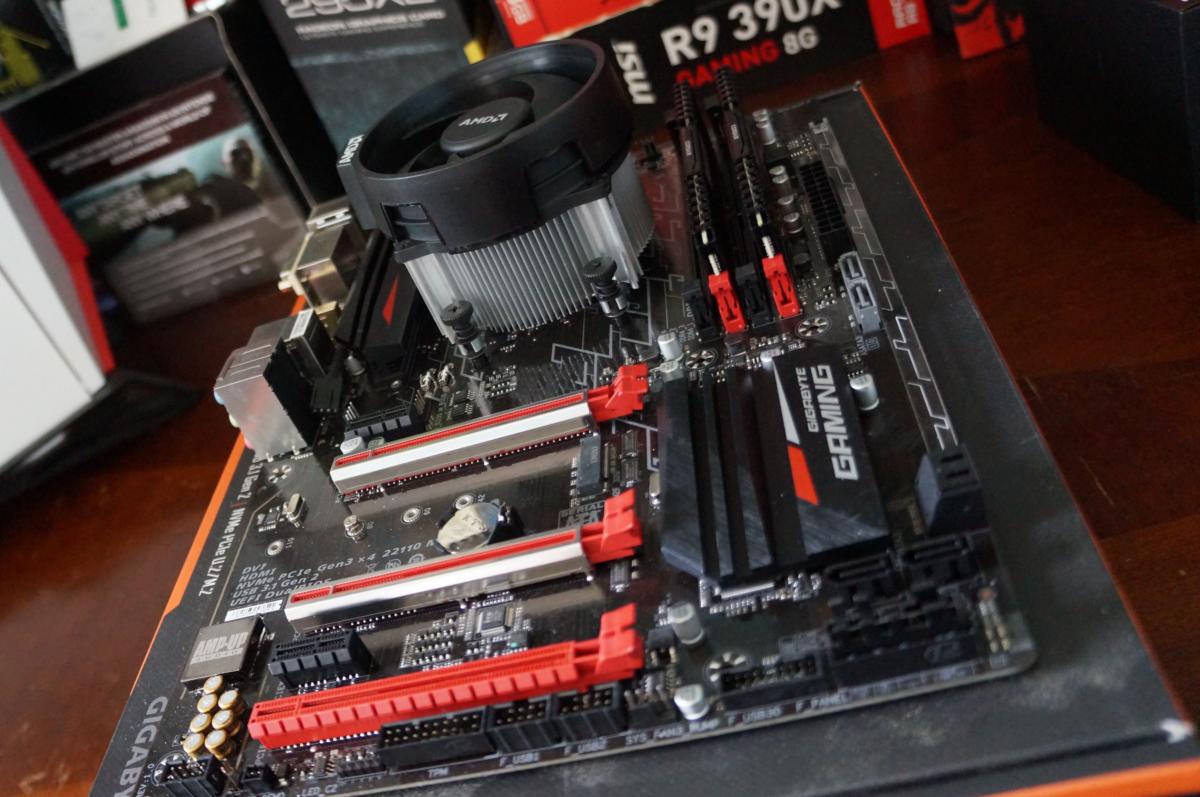
Motherboard: All Ryzen chips can be overclocked—but only on AM4 motherboards that support overclocking. For our budget build that means we’re looking for an AM4 motherboard using the B350 chipset, as high-end X370-based mobos are too costly and entry-level A320 chipset mobos can’t overclock.
This build uses the Gigabyte AB350 Gaming 3. It’s one of the nicer B350 motherboards available, with customizable RGB lighting, numerous PCI-E slots, programmable fan and pump headers galore, NVMe SSD support, and Realtek ALC1220 audio that outshines what you’d get on most B350 motherboards. It’s great.
But here’s where things get tricky. When we were pricing out the hardware for this article, the Gigabyte AB350 Gaming 3 was selling for $90. Now it’s back up to the same $110 price it was at launch. We’re using the $90 price for our build’s total cost, but this shows just how volatile PC hardware prices can be these days.
 Brad Chacos/IDG
The Gigabyte AB350 Gaming 3 with a beefier Wraith Spire cooler installed.
An alternative B350 motherboard
ASUS Prime B350M-A/CSM motherboard
 Price When Reviewed:$89.99Best Prices Today:$451.17 at Walmart
If your budget is strict, shop around—there are plenty of $90-or-less B350 motherboards available. Gigabyte’s own AB350M-HD3 ($80 on Amazon) is one option, as is the Asus Prime B350M-A/CSM ($70 on Amazon). Those alternatives pack different features and use the smaller, micro-ATX form factor, however, which means they have fewer PCI-E slots. That likely won’t matter in a build like this.
AMD has promised to support AM4 motherboards through at least 2020, so if you buy a cheap Ryzen 3 1200 processor today, you can update the system with a more potent future Ryzen chip two or three years down the line. This platform and this motherboard are built to last.
 Brad Chacos
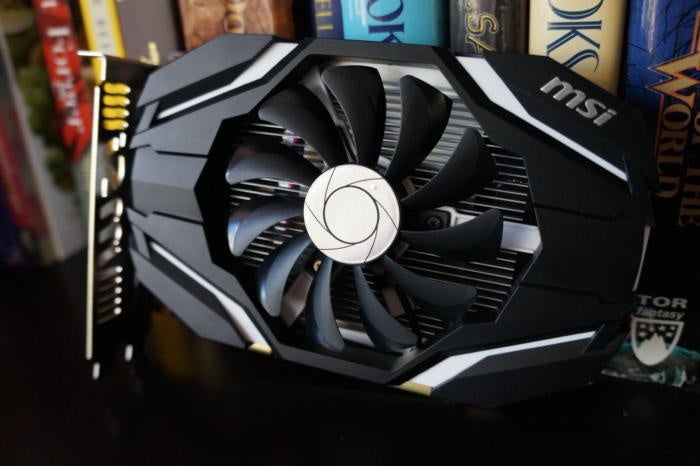
The 2GB MSI GTX 1050.
Graphics card: First the bad news: Cryptocurrency mining has sent graphics card prices skyrocketing. It’s impossible to find most graphics cards at anywhere near MSRP. Now the good news: That doesn’t apply to the entry-level graphics card we’re using in this build! Well, kinda.
When we priced out the build, the 2GB MSI GTX 1050 cost $100. Now it sells for $115 after a $10 rebate. Bummer. Remember what I said about pricing fluctuations for PC hardware? Anyhoo, the GTX 1050 is the best budget graphics card you can buy, hitting the hallowed 60 frames-per-second mark in most games at Medium graphics settings, or 30fps at High. That puts it on par with, or slightly better than, an Xbox One, for comparison, though some especially strenuous games might require you to tinker with settings for the best results. The meager 2GB of onboard VRAM means you’ll likely need to turn down the texture settings in some AAA games, but don’t be fooled: This card still has game. You’ll see it in the benchmarks later.
Mentioned in this article
Asus GeForce GTX 1050 2GB Phoenix Fan Edition
 Price When Reviewed:$124.99
As with the motherboard, don’t be afraid to shop around. Pretty much all 2GB GTX 1050 cards perform identically, so it’s no big deal to swap out this MSI model for a single-fan Zotac GTX 1050 or Asus GTX 1050. If you do, be warned: Models with 4GB of RAM costs more, as does the more potent GTX 1050 Ti.
Next page: Components continued, cheaper hardware alternatives.
 Brad Chacos
Mentioned in this article
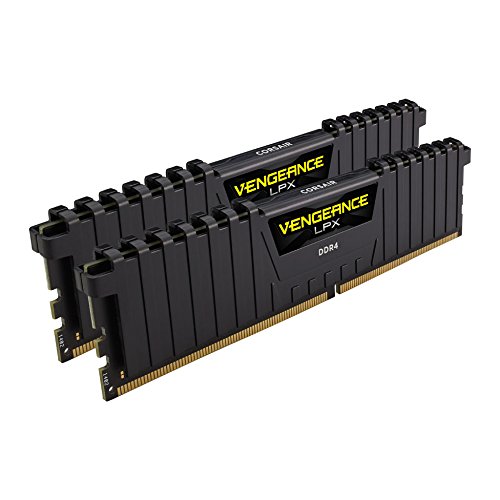
Corsair Vengeance LPX 8GB (2x4GB) DDR4 3000MHz kit
 Price When Reviewed:$74.99
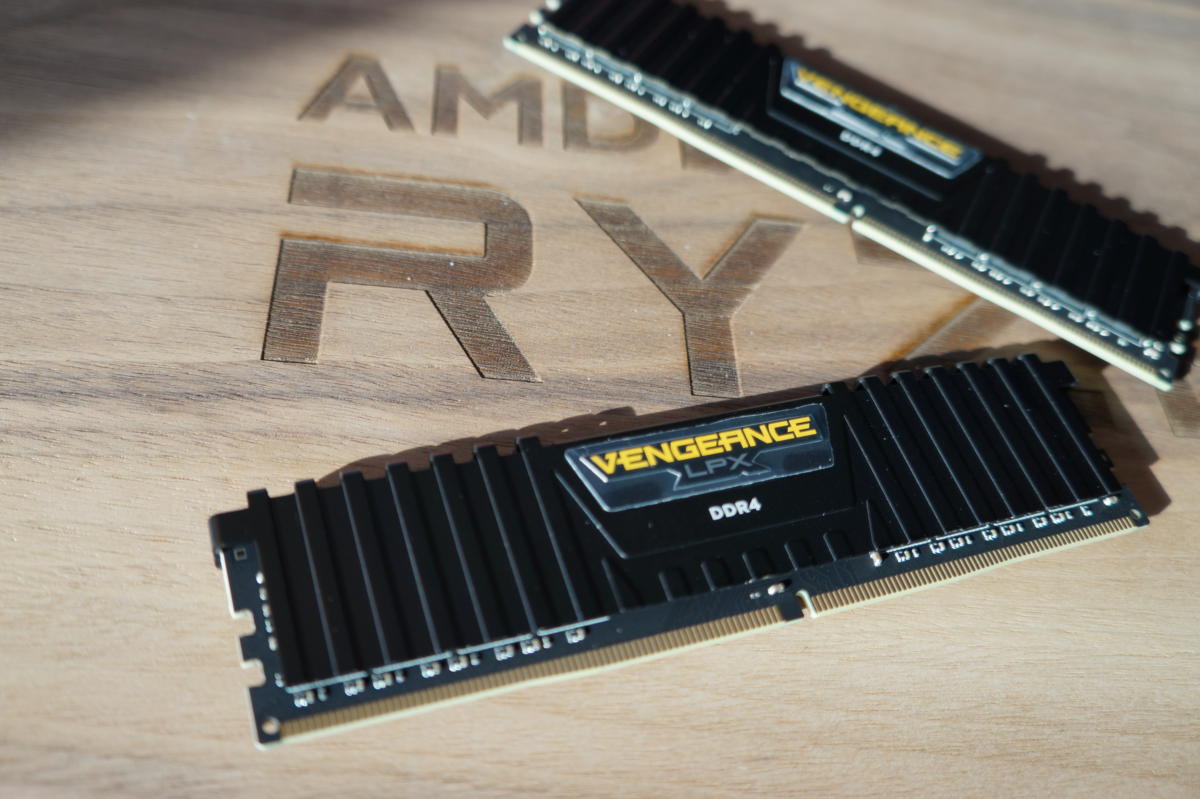
Memory: Here we’ve been bitten by pricing fluctuations yet again. When we priced out the parts for this article, the 2x4GB kit of Corsair Vengeance LPX DDR4 RAM we’re using cost $65. Now it’s up to $83. Ugh. A quick glance at Newegg shows that all 8GB dual-channel kits at 3000 speeds are selling for similar prices, though. Those predictions of surging memory prices weren’t wrong.
Don’t skimp on RAM though. Recent firmware updates have fixed the platform’s early memory compatibility headaches, but Ryzen chips are still very sensitive to RAM speeds. Faster RAM often means better gaming performance, so I recommend DDR4 3000 as your baseline. (Dropping to DDR4 2400 can slash $20 off the price, though.) You definitely need 8GB of RAM in a gaming rig. Many modern games are starting to require 6GB to 8GB of system memory, and cutting corners down to 4GB is an especially bad idea if you’re using slower storage. Speaking of which…
 Brad Chacos/IDG
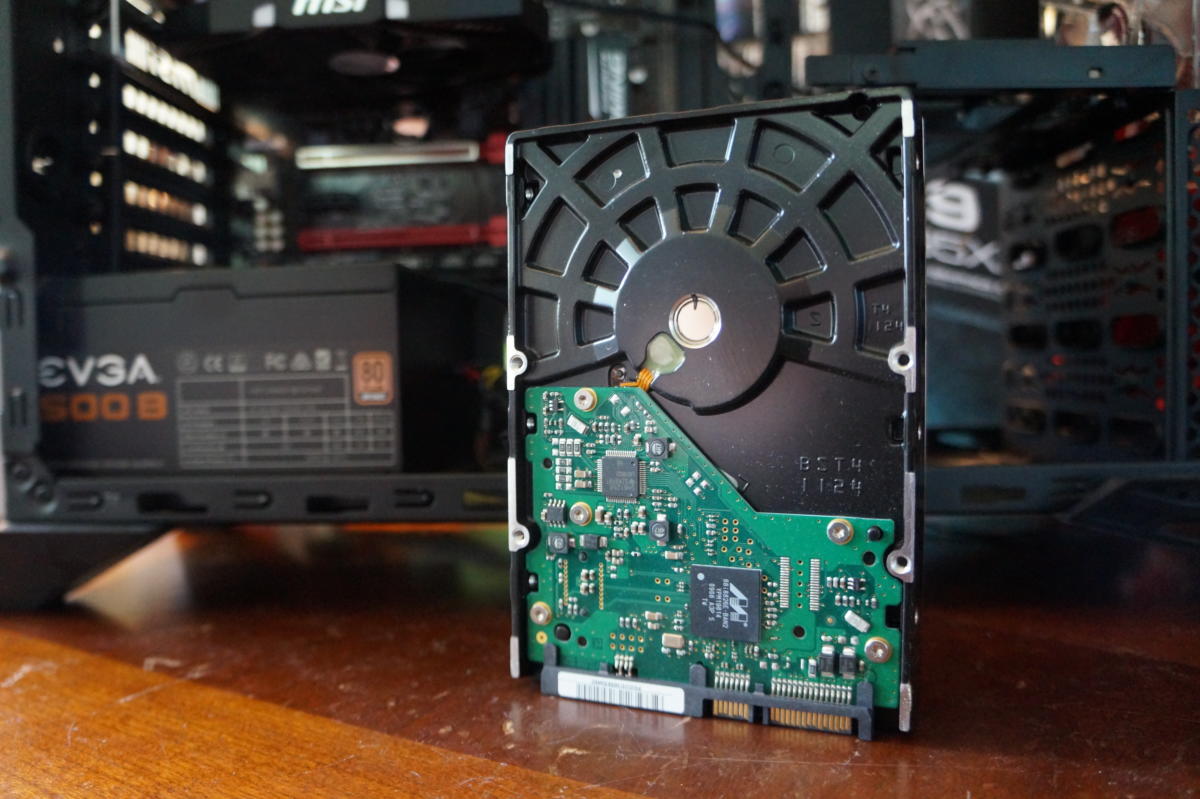
Using a mechanical hard drive makes sense in a cheap gaming PC, but it still hurts.
Mentioned in this article
Seagate 1TB BarraCuda internal hard drive
 Price When Reviewed:$53.03Best Prices Today:$43.98 at Amazon
Storage: We’re going with a traditional 1TB, 7,200rpm mechanical hard drive for this build. After using an SSD for years now, the boot and program installation times on an HDD is excruciatingly slow. But budget builds often require tough decisions, and in an era where game install sizes routinely surpass 50GB, opting for a large 1TB hard drive makes more sense than trying to squeeze things onto a similarly priced 120GB SSD. We had a spare hard drive lying around, but you can pick up one for $45 on Amazon.
 Brad Chacos/IDG
Mentioned in this article
EVGA 500 B1 80+ Bronze 500W power supply
 Price When Reviewed:$49.99
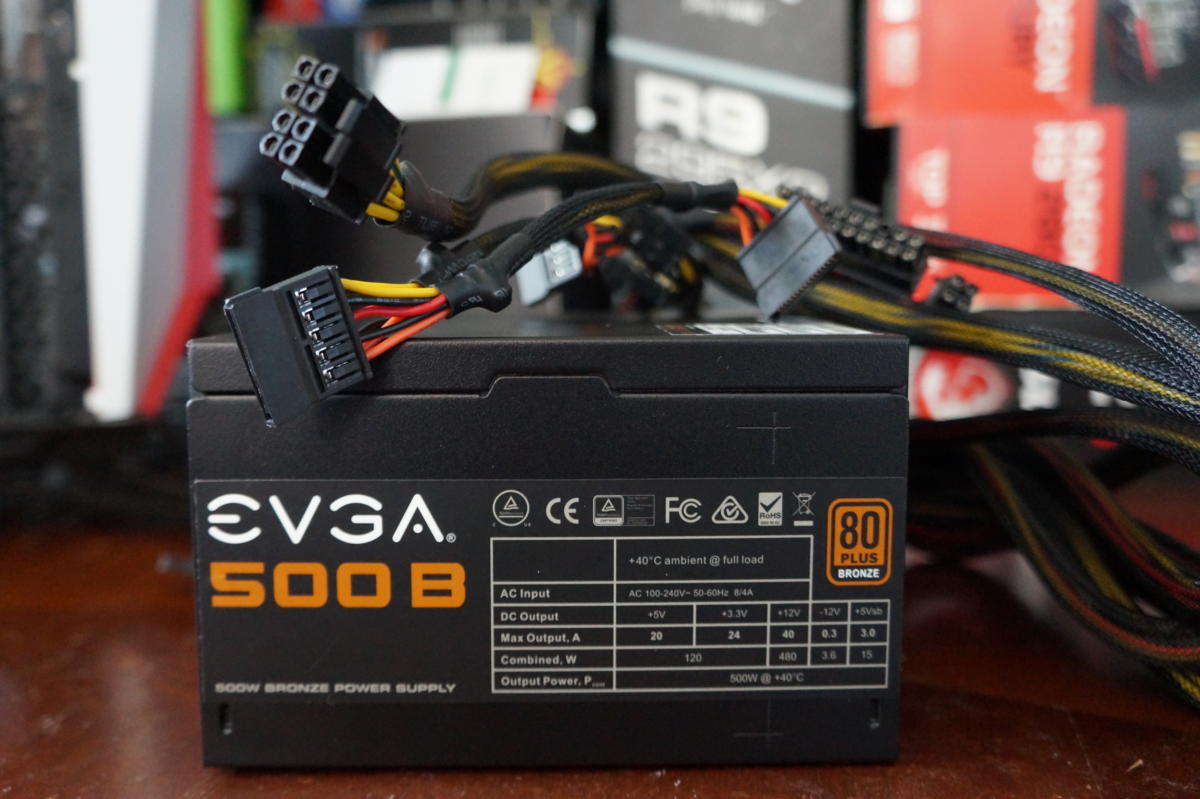
Power supply: You don’t need to splurge on a fancy power supply in a build like this. Get one from a reputable manufacturer with 80 Plus Bronze certification and you’re good to go. The EVGA 500B ($36 on Amazon) fits the bill perfectly.
You might be able to save some cash by using a PSU with less wattage in a build like this, but that’s already a damned competitive price for a power supply from a top manufacturer, and the 500W capability allows you to overclock your rig while also leaving room for potential hardware upgrades later.
 Brad Chacos/IDG
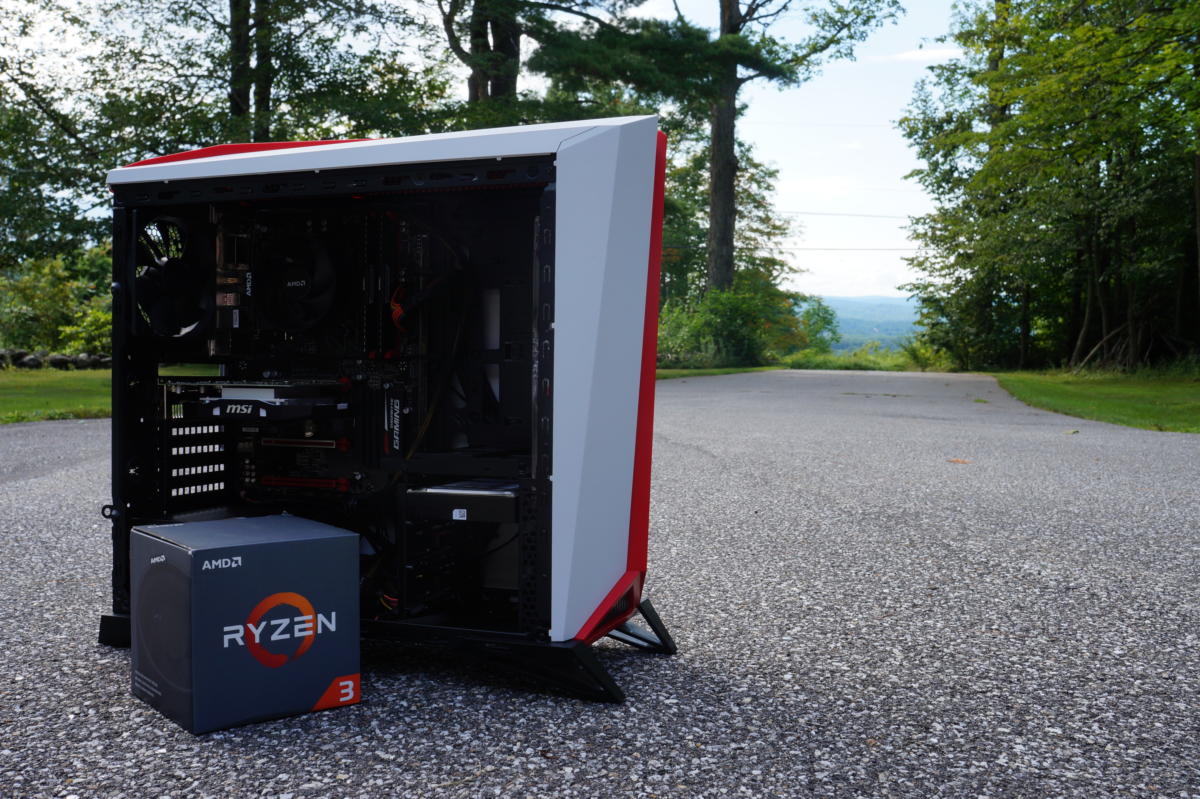
Spoiler alert. Not pictured: The Spec-Alpha’s side panel with a large, plastic window.
Mentioned in this article
Corsair Carbide Series SPEC-ALPHA Mid-Tower Gaming Case, White/Red
 Price When Reviewed:$79.99
Case: Here is my one regret in this build. Not that Corsair’s Spec-Alpha case sucks or anything; it’s actually a very compelling sub-$100 case that I’ve used for several builds. But because it costs $80 on Amazon. That’s a hell of a lot of money to spend on a case in a budget build like this, even though the Spec-Alpha includes niceties like native USB 3.1 front-panel connections and RGB-laden fans galore. The fact is, I just didn’t have time to buy a new case for this build, as I crammed this project in during a weekend, between several trips and all sorts of hardware launches.
It makes a lot more sense to spend a whole lot less on a case in a $550 build. Definitely grab the Spec-Alpha if you can afford it, but if you need to cut costs, here’s a great place to do it. Just make sure the case you pick can accommodate your motherboard and includes both front and rear fans for optimal airflow. I recently helped a buddy build an affordable PC using the Deepcool Tesseract ($38 on Newegg) and it checks every box.
Windows 10: A Windows 10 Home OEM key for $26 on Kinguin, which is sort of like an eBay for software.
Grand total: Add it all up and you’re looking at a grand total of $552 for this system at the time we obtained the hardware, though the post-purchase price inflation brings that total up to $604 in today’s street prices. Again: Ugh. But on the other hand, price fluctuations mean prices could go down when you’re ready to buy, too.
This assumes you have a monitor, keyboard, and mouse you can reuse from another PC, which is typical for build guides like this. If you don’t, the overall cost will obviously go up, though you can purchase basic keyboards and mice for next to nothing on Amazon.
Alternatives: Build a cheap gaming PC for under $500
So let’s pretend you’re on a really tight budget and need to save every penny possible. What could you change in this build to bring costs down?
The most obvious answer is the part I’ve already mentioned: the case. Swapping out the Corsair Spec-Alpha for the $38 Deepcool Tesseract saves you $42 instantaneously. Indeed, I’d recommend that most people opt for the Tesseract, unless you have the extra cash and deeply dig the unique “gamer-y” look of Corsair’s case.
 Deepcool
The affordable Deepcool Tesseract case.
Beyond that it’s hard to cut deeper without making some noticeable performance sacrifices. You could opt for DDR4 2400 memory instead of DDR4 3000 to save another $16, but like I said, Ryzen performance can be heavily affected by RAM speed. Only do that in a pinch.
Mentioned in this article
Asus Radeon RX 550, 2GB
 Price When Reviewed:$89.99
Likewise, downgrading from the GTX 1050 to something like the Nvidia GeForce GT 1030 ($70 on Amazon) or Radeon RX 550 ($85 on Amazon) would save you another $15 to $30, but it will greatly limit your ability to play modern AAA games. That said, it could be a smart swap if you only play e-sports titles like League of Legends, Counter-Strike, Rocket League, or Dota 2.
Shopping around for another motherboard could save you even more, as Newegg offers more feature-limited B350 motherboards for as little as $65. Be sure the capabilities meet your needs!
If you make all of those tweaks you could build a Ryzen 3 1200 gaming PC for $113 less, or somewhere between $450 and $500 depending on street prices that day. Not too shabby—and heck, you could save another $26 if you ditch Windows for Linux! Again though: Don’t change out the memory or graphics card for slower models unless you have a concrete reason to do so. They’ll profoundly affect your gaming performance.
Let’s build!
Next page: We build!
Building the cheap Ryzen gaming PC
It’s been a while since I’ve built such an affordable gaming PC, and the $550 Ryzen 3 PC came together wonderfully. If you follow the steps outlined in PCWorld’s guide to building a computer you’ll be up and running in no time. Hit that link for in-depth information about each step of the process, as we’ll just cover the highlights here.
 Brad Chacos/IDG
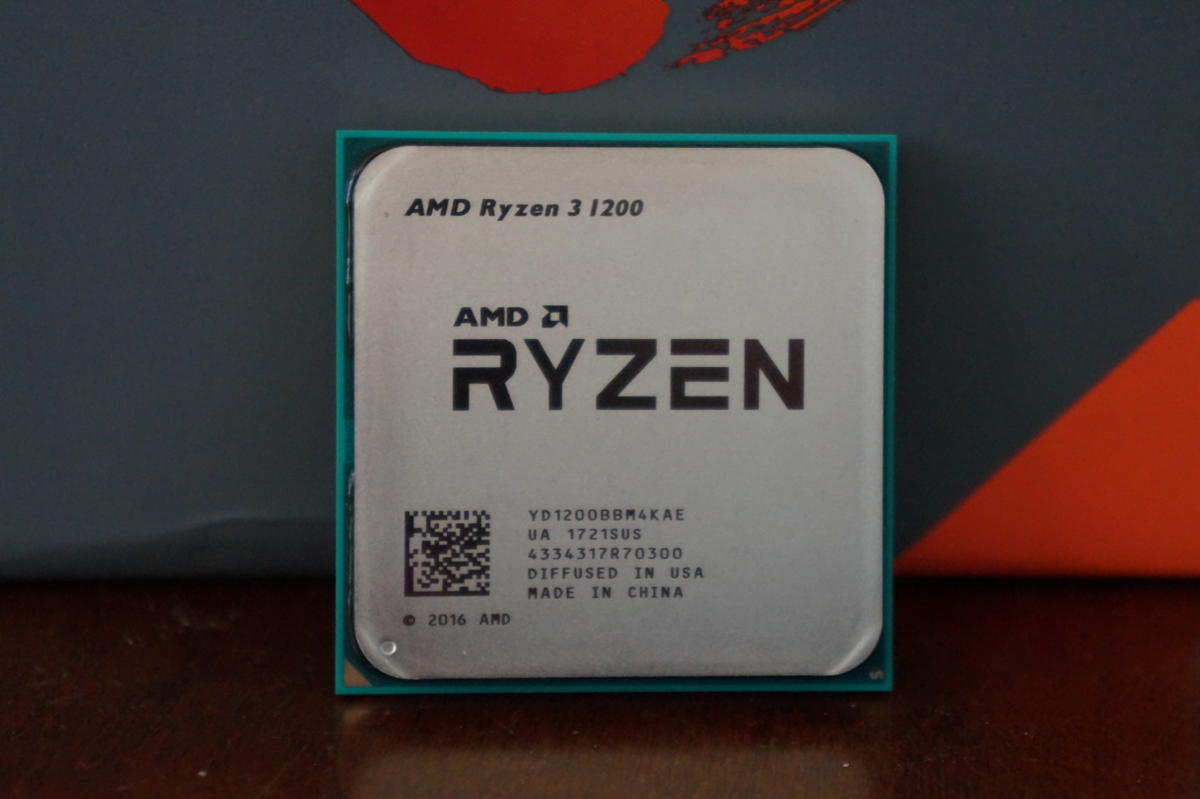
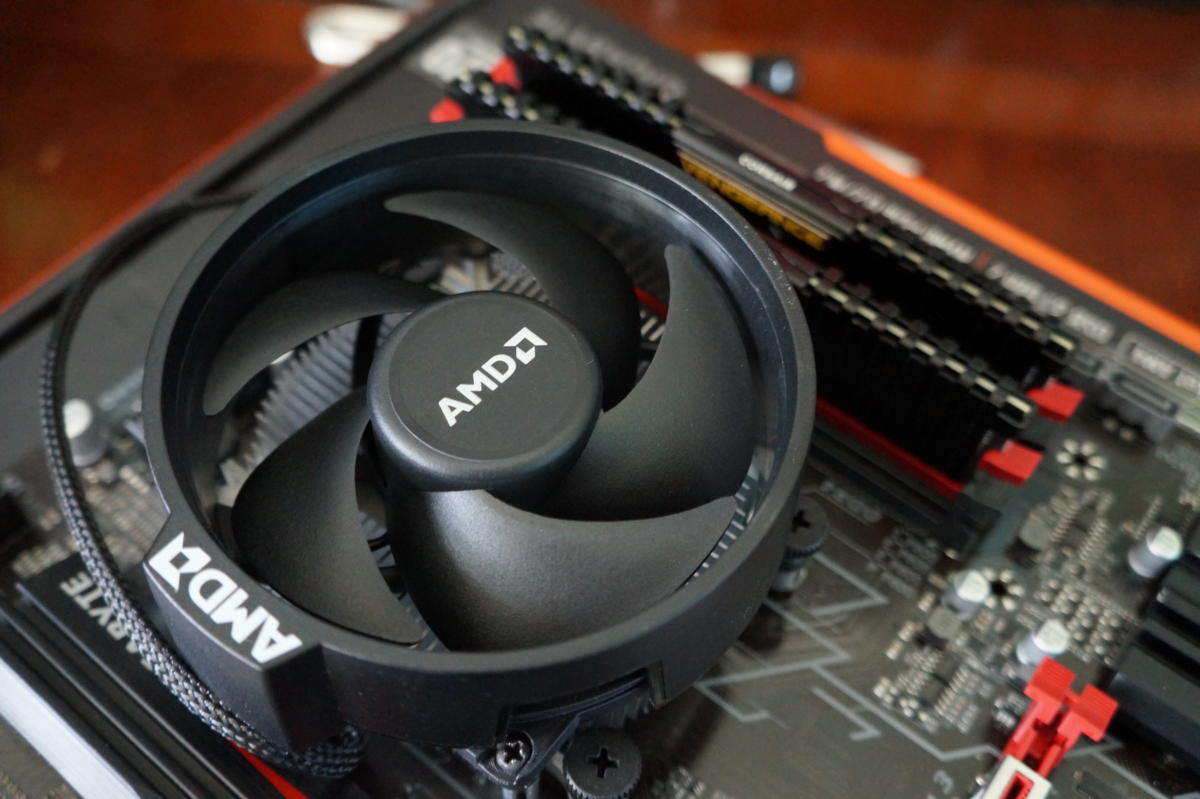
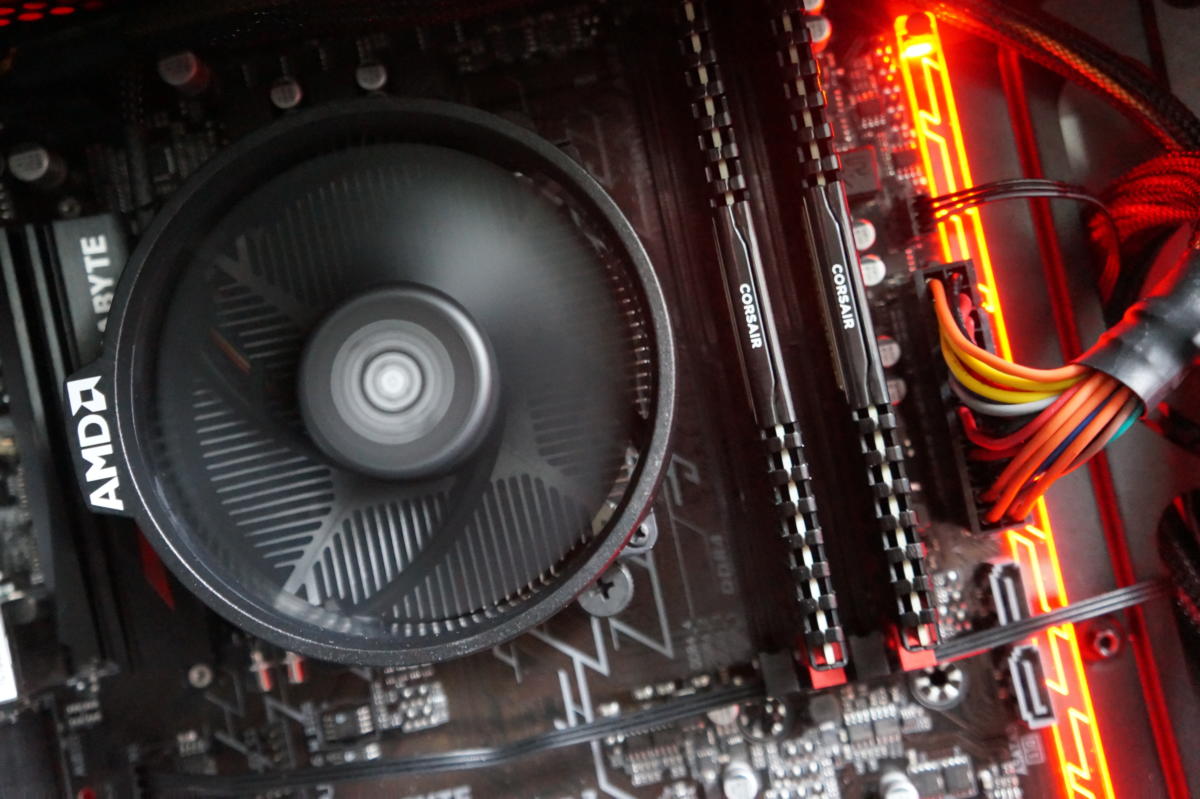
You’ll want to build out your motherboard first. Install the RAM (read the manual to ensure you slot the sticks in the correct channel!), then install the CPU by matching up the golden triangle on one of the bottom corners of the chip with the similarly marked corner of the motherboard socket. Be careful not to bend those delicate pins while you’re handling the Ryzen 3 1200!
 Brad Chacos/IDG
Build out your motherboard before installing it in your PC.
Once all that’s in place, it’s time to install the Wraith Stealth cooler by simply tightening the bolts into place on the motherboard. (The cooler already has thermal paste preinstalled.) Don’t tighten one bolt all the way, then move onto the next; instead, give each bolt a turn or two and move on, slowly but surely setting the cooler into place with even pressure from all corners.
 Brad Chacos/IDG
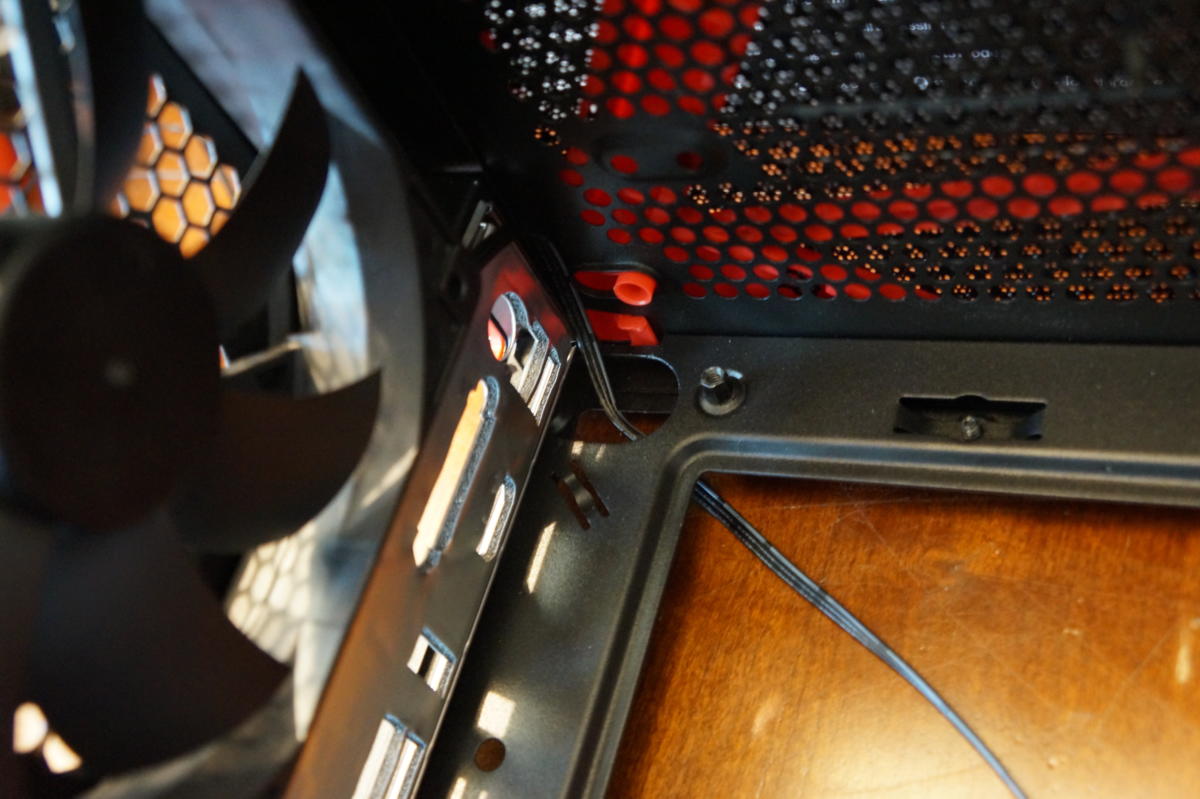
Slip the rear case fan’s wire through the minuscule cut-out in the upper-left corner of the case before installing the motherboard.
Once that’s done, it’s time to perform a couple preparatory steps before inserting the built-out motherboard in the PC case. Get that rear motherboard I/O shield in place first! It really sucks to forget it and then have to rip the entire thing apart. Also route the rear case fan’s cable through the top-left cut-out in the motherboard tray now, as you’ll have no room to do so after the motherboard’s installed. Then install the motherboard in the case as normal.
 Brad Chacos/IDG
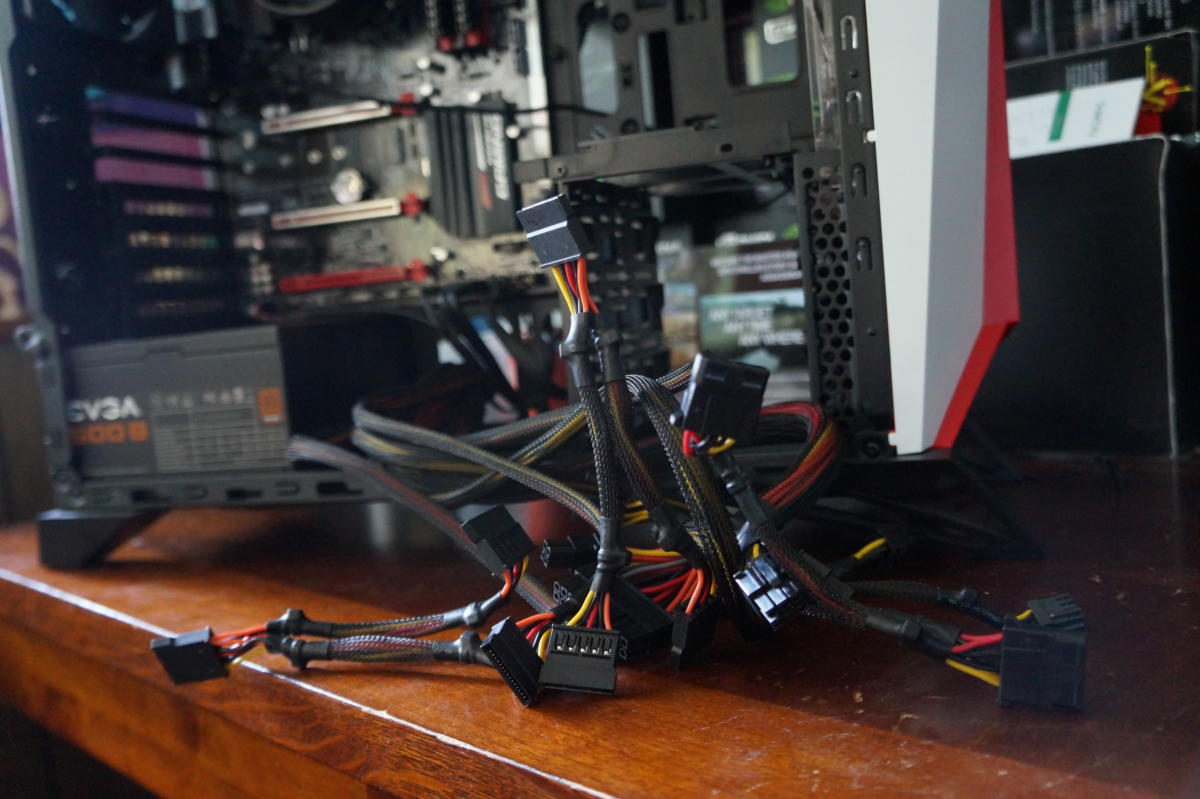
This big bundle of wires is why you want to install the power supply last.
From there, the rest of the build goes together easily. One of the boons of a budget PC? Everything’s simple. You don’t have to worry about finding spaces for water-cooling loops, mutlitple storage drives, or RGB light strips. You just slot in the basics, wire everything up, and start gaming. Put the power supply in last to keep its bundle of cables out of your way, though.
 Brad Chacos/IDG
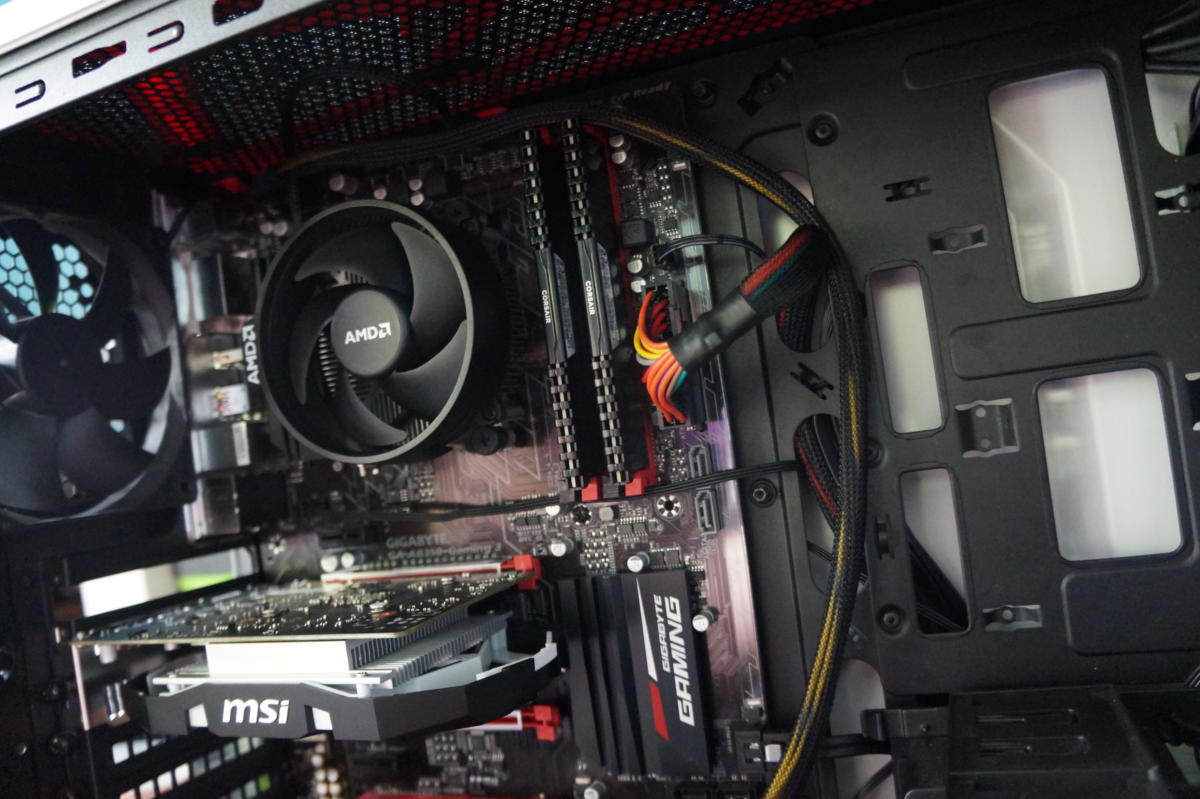
Several wires have to be strewn about the cheap PC’s interior, including two fan cables and the bulky 8-pin CPU power connection.
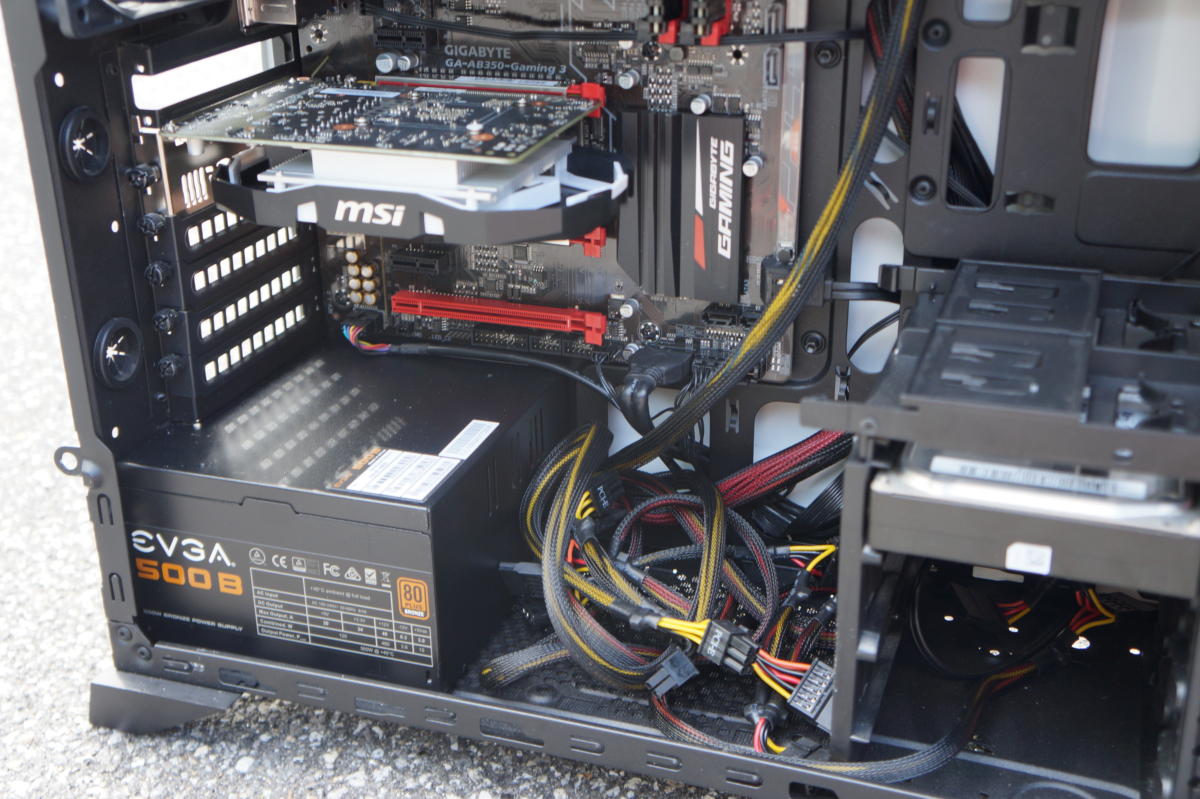
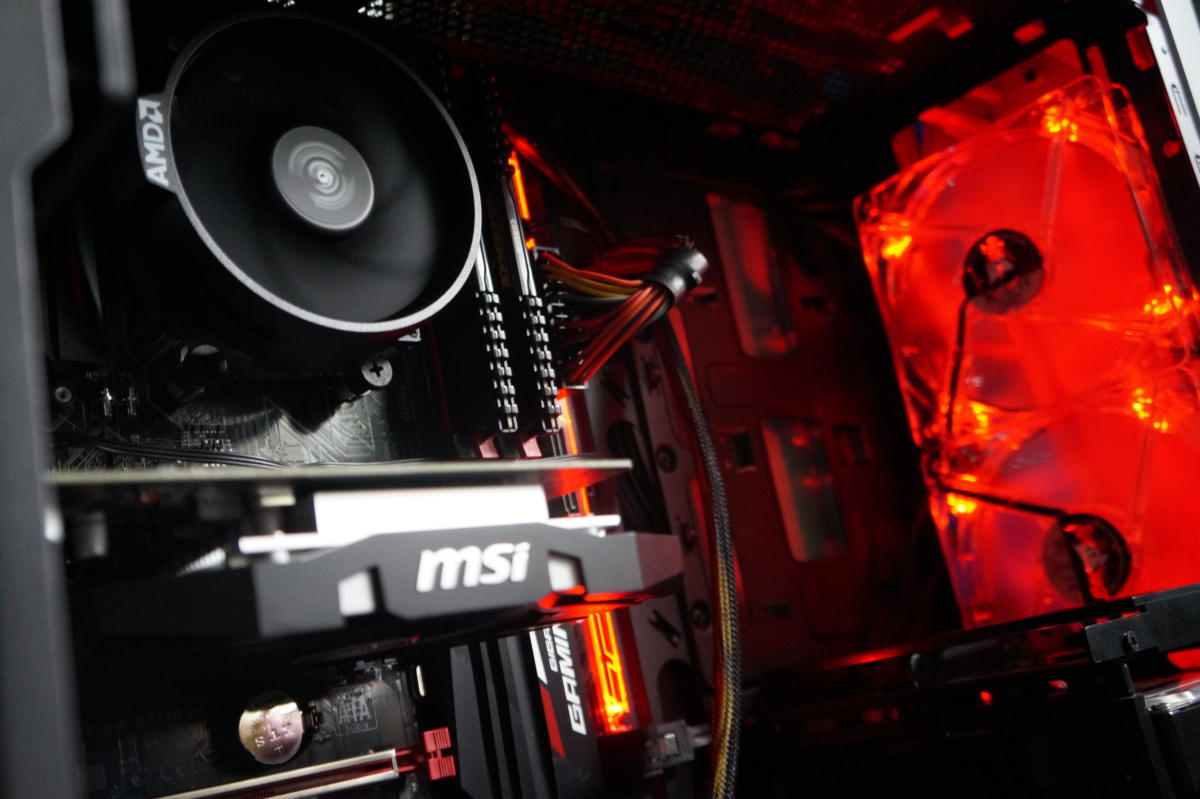
Speaking of which, cable management is the one bugbear of this affordable Ryzen build. The Corsair Spec-Alpha doesn’t include many cable-routing holes on the top or rear of the case, so I wound up having to string two fan cables and the 8-pin CPU power connector across the interior of the case rather than tucking them away neatly. Ugh. That’s compounded by the Spec-Alpha’s lack of room behind the motherboard tray. With no room to hide behind the motherboard, unused ketchup- and mustard-colored cables from the non-modular EVGA power supply just sit in an ugly ball on the bottom of the case.
 Brad Chacos/IDG
I’m dying inside—but it works!
I’m very particular about cable management and the end result here makes my eyes hurt—doubly so because of the Spec-Alpha’s large side window, which rubs all those ugly cables in my face. A cheaper case with no side window might actually wind up looking more attractive overall for a budget build like this. Out of sight, out of mind.
But that’s nitpicking. This PC works like a charm!
Next page: Performance and bottom line
Cheap Ryzen gaming PC performance
Well, most of it.
After using an SSD for years, returning to a 7,200rpm hard drive is painful. Installing Windows 10 took hours and hours. Installing our suite of games to benchmark took overnight. Heck, even just allocating disk space for those games took Steam around 10 minutes a pop. Boot times and overall system responsiveness are noticeably slower than what you’d get with an SSD. I’m not used to living the spinning-platter storage life anymore.
It’s worthwhile at this price point though. The games ran just fine once they were installed, and you could only get a 120GB SSD or so for the same price as the $550 Ryzen 3 rig’s 1TB hard drive. The four games we installed and tested on the system were roughly 20GB, 38GB, 60GB, and 70GB, or about 188GB in total. That’s already far more than you could fit on a comparably priced SSD, because games are too damned big these days.
 Brad Chacos/IDG
But upgrading the storage should be your first priority for future upgrades. If you wind up with a bit of cash in your pocket at some point, pick up a tiny SSD for Windows and your most-used programs to supercharge the day-to-day feel of this rig.
We’re here for the games, though. I tested four of them on the $550 Ryzen 3 PC: Hitman, Rise of the Tomb Raider, Grand Theft Auto V, and Ghost Recon: Wildlands. None overly stresses the CPU (as this isn’t a review of the Ryzen 3 1200) but they were all picked for specific reasons.
Rise of the Tomb Raider received a Ryzen-specific performance update shortly after AMD’s chips launched. We tested it in DirectX 11.
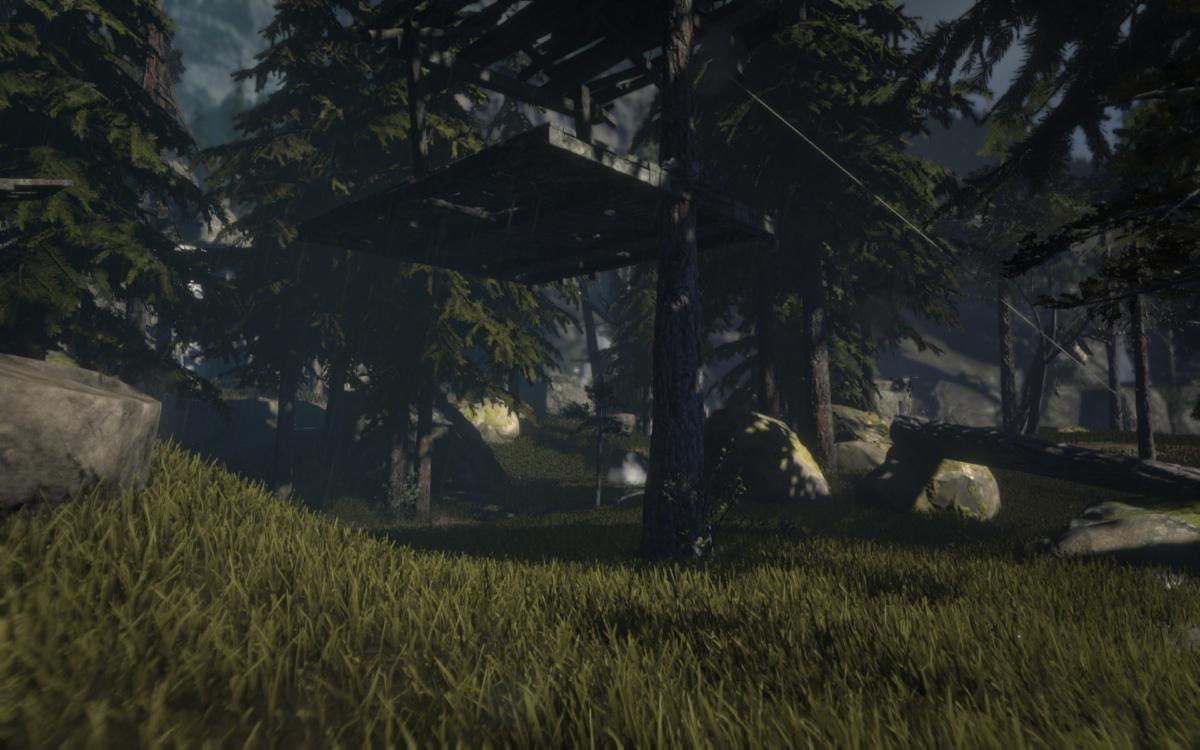
One quirk we noticed? While running the benchmark, the initial platforms and trees in the Geothermal Valley portion loaded very slowly, only popping into place as you neared their location. We didn’t notice the issue during standard gameplay, though. The GTX 1050’s limited 2GB RAM caused some stuttering at the High graphics preset, which could be eliminated by dropping the game’s Texture Quality setting to Medium.
 Brad Chacos/IDG
Trees and platforms popping in in Rise of the Tomb Raider.
Hitman won’t let you enable some features if your graphics card is memory limited, and the 2GB GTX 1050 definitely is. When reviewers tested it on Ryzen 7 alongside Intel’s high-end Core i7-7700K chip at 1080p resolution with powerful graphics cards, the Intel chip took the clear lead, so we wanted to see how it held up in a more balanced build. We tested with a high level of detail, FXAA enabled, SSAO disabled. Since our card has just 2GB of RAM, Hitman restricted texture quality to low, with shadow maps and shadow resolution maxing out at medium.
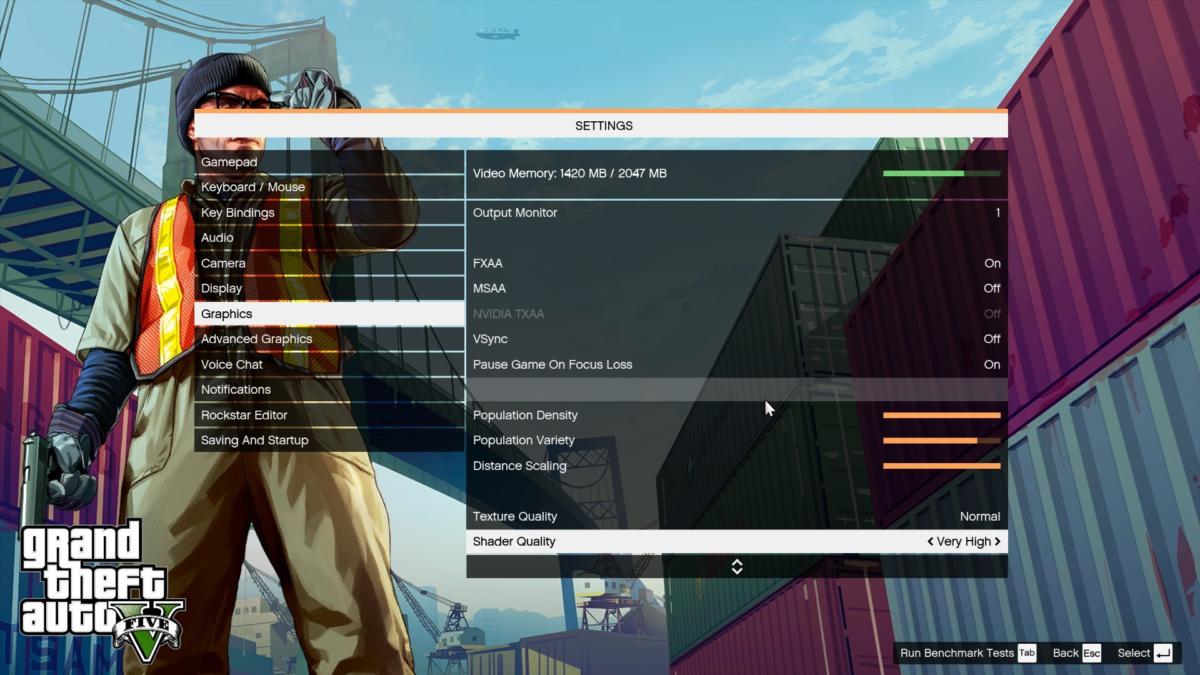
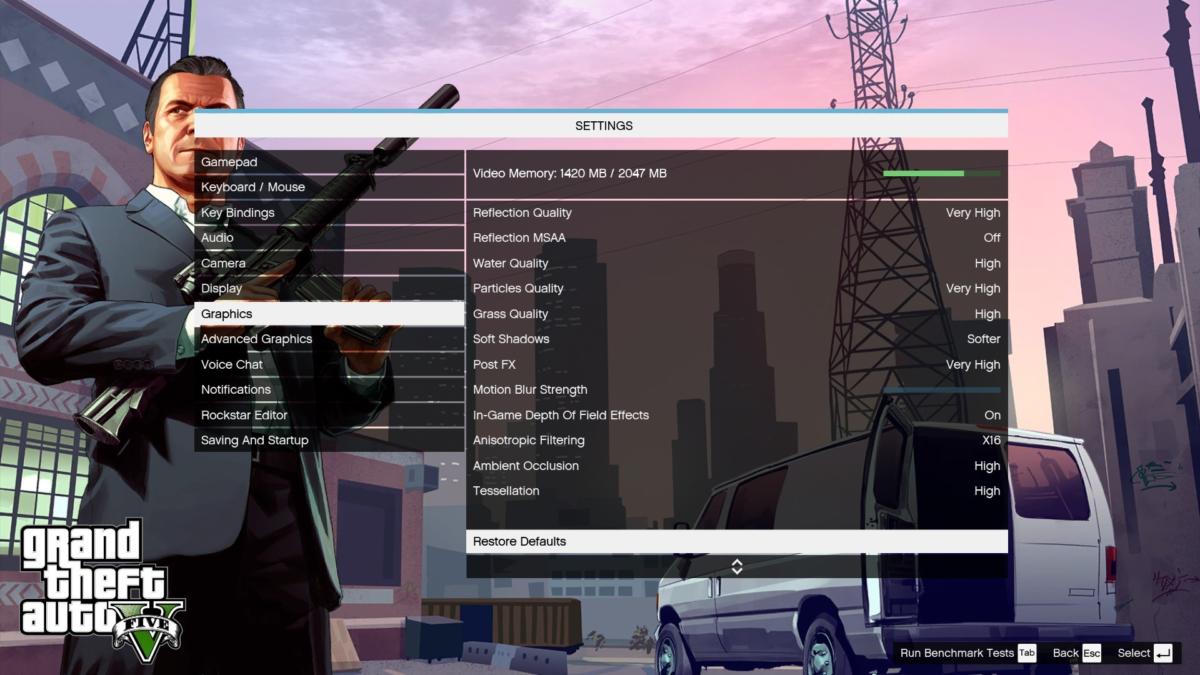
Grand Theft Auto V is another game that benchmarked better on Core i7 systems than Ryzen 7 systems, so we included it for a real-world reality check. It’s still incredibly popular, too.
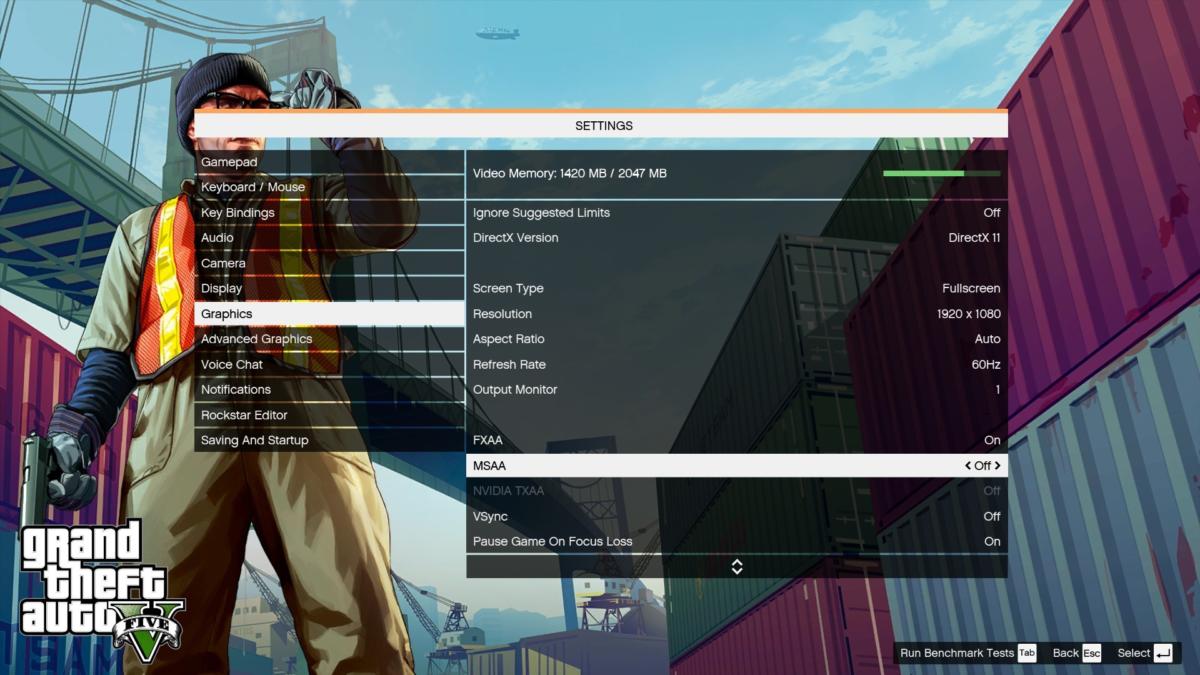
Here are the graphics settings we used, which the game set by default after auto-detecting the system’s hardware configuration.
 Brad Chacos/IDG
 Brad Chacos/IDG
 Brad Chacos/IDG
Ghost Recon: Wildlands isn’t very popular, but it’s so damned gorgeous that it brings all but the most powerful graphics cards to their knees. What better game to test a budget gaming rig with? In fact, the only way this game will even run is if you set the texture quality to low. (Protip: Disable the ambient occlusion graphics setting while you’re at it, as doing so barely impacts the visuals but added about five frames per second of performance in our testing.)
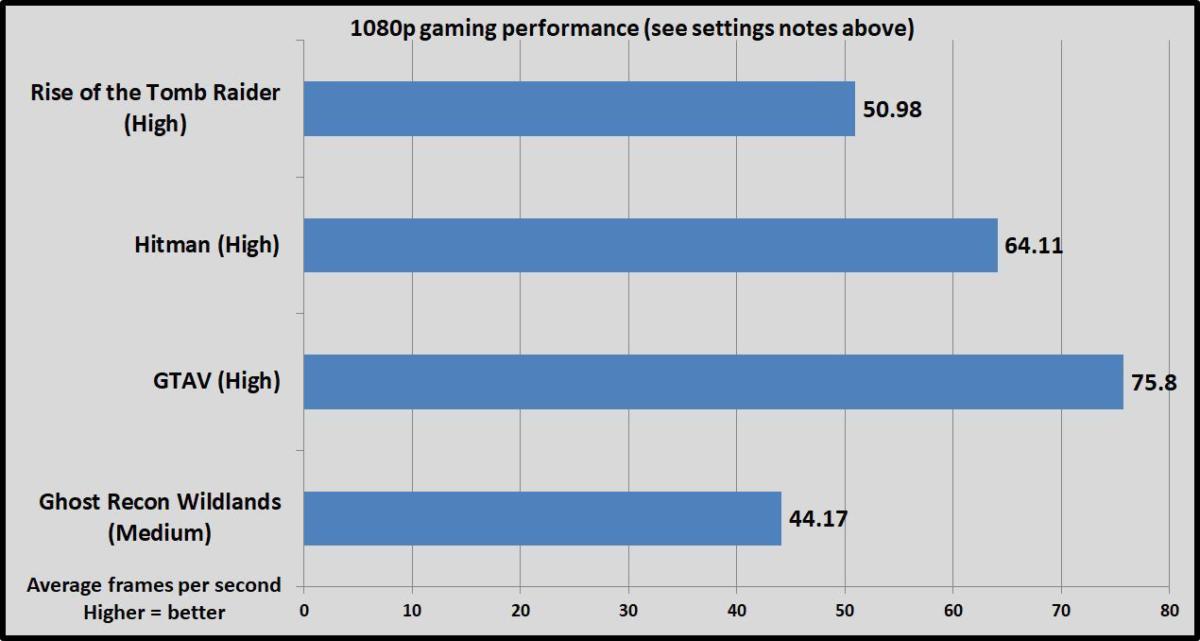
Here’s how the $550 Ryzen PC held up. All tests were done at 1080p resolution at High graphics presets, along with any necessary options tweaks mentioned in the prior notes. Ghost Recon only hung around 30fps at High, so the results below use the Medium graphics setting instead.
 Brad Chacos/IDG
That’s pretty good, with every game except Ghost Recon: Wildlands hitting a damned playable 50fps or more. And you can get Ghost Recon closer by enabling the Medium graphics preset, turning down texture quality, and disabling ambient occlusion. After those tweaks the game averaged a healthy 49.5 frames per second. For comparison, both the Xbox One and the PlayStation 4 struggle to maintain 30fps in the game.
And even on this modest hardware the games still looked pretty damned good.
 Brad Chacos/IDG
Next page: Overclocking and final thoughts
Cheap Ryzen gaming PC overclocking, final thoughts
You can get even better performance out of this budget Ryzen rig. The whole reason to create a Ryzen 3 build with a B350-based motherboard is to take advantage of the platform’s unique ability to overclock—and I’m happy to report that the Ryzen 3 1200 overclocks just as well as its bigger brothers.
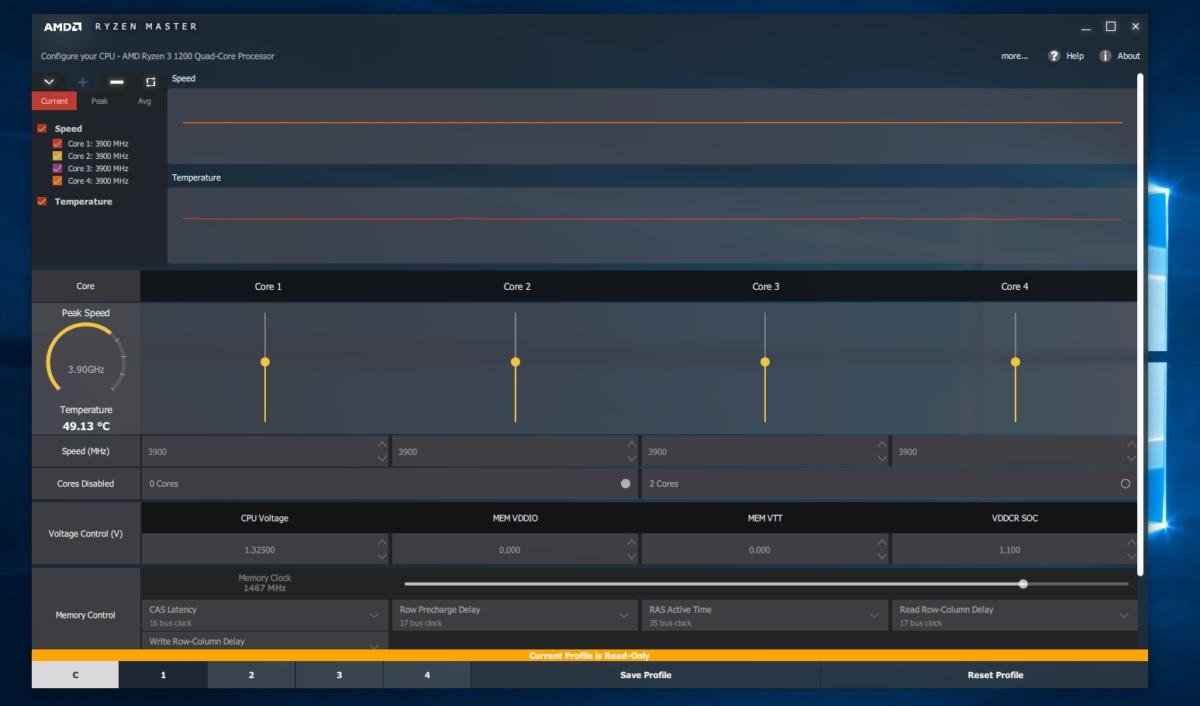
Even using the tiny Wraith Stealth cooler included in the box, I was able to push the CPU all the way up to a 3.9GHz all-core overclock with AMD’s Ryzen Master software at 1.325 volts. I could’ve pushed it even further with a more potent third-party cooler, as the CPU worked fine at 4GHz at 1.35 volts—aka the maximum AMD recommends for long-term use—but cranking the voltage sent temperatures skyrocketing from 57 degrees Celsius at 3.9GHz to 66 degrees at 4GHz. Better safe than sorry with pricey PC hardware!
 Brad Chacos/IDG
AMD’s Ryzen Master overclocking software shows our final overclock settings.
Overclocking the Ryzen 3 1200 and performing PCWorld’s other Ryzen-boosting PC performance tips (like enabling higher memory speeds and AMD’s custom power plan) really improved the underlying feel of the system. Responsiveness improved on the desktop, and minimum frame rates noticeably improved in games, creating a much smoother experience.
Average frame rates didn’t jump much, but that’s to be expected in this rig, as the gaming experience is limited by the modest graphics card. The overclock would help more if you ever decide to upgrade your graphics hardware. The higher clock speeds will also improve performance in many non-gaming desktop programs, but that’s not the purpose of this article.
 Brad Chacos/IDG
All in all, this Ryzen 3 1200 system is a damned decent gaming PC on a doable budget, and it has one hell of an upgrade path for the future.
Mentioned in this article
AMD Ryzen 3 1200 with Wraith Stealth cooler
 Price When Reviewed:$109.00Best Prices Today:$79.99 at Walmart | $105 at Amazon
The motherboard supports the latest high-end storage technology, while AMD’s long-lasting AM4 support means you could drop in a second- or third-gen Ryzen chip in a few years to breathe new life into the rig. Simply swapping in a Radeon RX 580 or GeForce GTX 1060 graphics card to replace the GTX 1050 would transform this from a decent entry-level gaming PC into a 1080p powerhouse capable of playing games at well north of the hallowed 60fps with all the visual bells in whistles enabled.
That’s a hell of a lot better than your $550 would get you just a few months back. Affordable quad-core computing is finally here, and it’s finally built for the future.
Just keep an eye on your games’ texture quality—and buy an SSD as soon as you’re able.


